

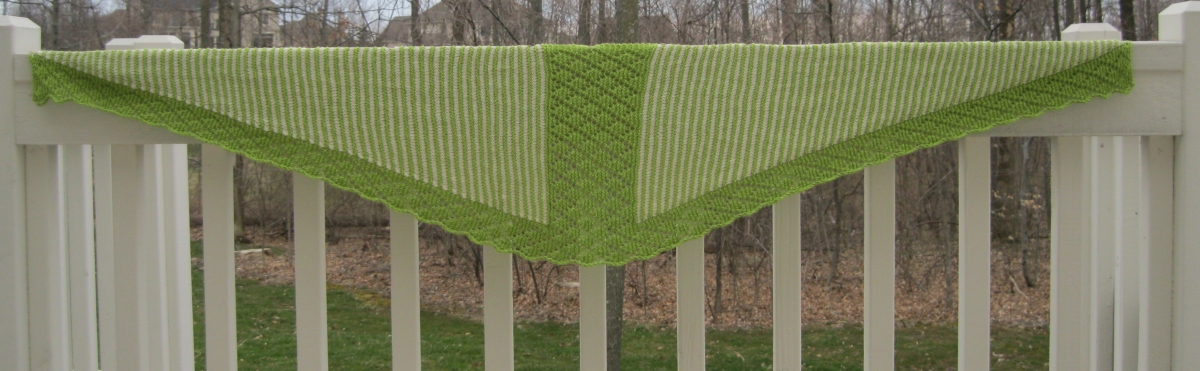
Our lovely Ridgely is complete and ready for finishing! Part Four focuses on techniques that will enhance our shawlette and any knitted garment.
Blocking is the process of using steam or water on a knitted fabric and then pinning it into shape. It gives knitting a smooth, professional finish. Many yarns “bloom” or plump with blocking, allowing the stitches to become more uniform. Blocking also presents the opportunity to adjust the fabric to the desired dimensions. The results with lace fabric are especially dramatic as blocking opens the lace and creates better stitch definition.
I compare the blocking process to caring for a dress shirt. A shirt that has been carefully laundered and pressed is far superior to an unwashed, rumpled shirt. The extra time spent is very evident. Your hours of careful knitting deserve the same proper treatment!
Prior to blocking, I recommend weaving the ends of your yarn into the wrong side of the fabric. See Weave in Ends Video As you weave in each strand, leave a 2″ tail at the end of each woven strand. The yarn will stretch with blocking and some of this tail will be absorbed into the blocked fabric. The excess tails can be trimmed after the blocking process.
Begin blocking by immersing the knitted piece in cool water, using a no-rinse soap if needed. Allow the knitting to soak for about 15 minutes to absorb the water sufficiently. Support the knitting as it is lifted out of the water and gently squeeze – never wring your knitting! Next, roll the piece in a towel to remove the excess water.
Lay the garment on top of a dry towel or blocking mat. In the absence of a blocking mat, I use interfacing with 1″ grid lines (found at fabric stores) on top of the towel as a guide for straight lines and even sizing. Using rust proof pins, pin the damp garment to the towel/mat. In Ridgely, begin pinning along the edge of the Striped Body moving from the Center Panel to the tapered ends. Take care to measure that both ends are stretched an equal distance from the center for symmetry. Lastly, pin each point of the Lace Border to open the lovely lace. (See below photo) Allow knitting to dry fully before removing the pins. See Blocking Video
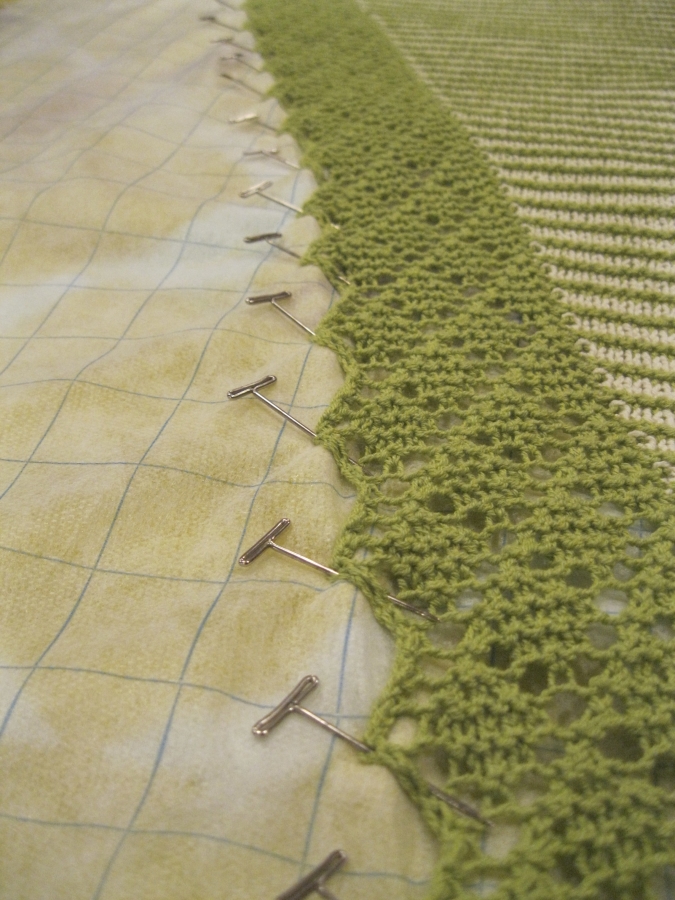
Many experienced lace knitters have come to rely upon blocking wires to simplify the blocking process. These thin wires are threaded through the edges of your knitting requiring fewer pins. The wires are especially helpful in keeping edges straight and lace points uniform. I demonstrate how to use them in my Blocking Wires Video.
After blocking, some knitting may further benefit from an additional edge treatment. A piece with an exposed edge such as scarves, shawls and afghans, can be tidied by adding a trim of single crochet. (See below photo) This simple technique can hide any wonky edges or uneven stitches. You can use the single crochet to mask any irregularities along the Striped Body edge. Whether your Ridgley needs this last step is completely up to you, but you will love adding this technique to your knitting arsenal. Even non-crocheters like me find use for this finishing skill in many projects. See Single Crochet Video
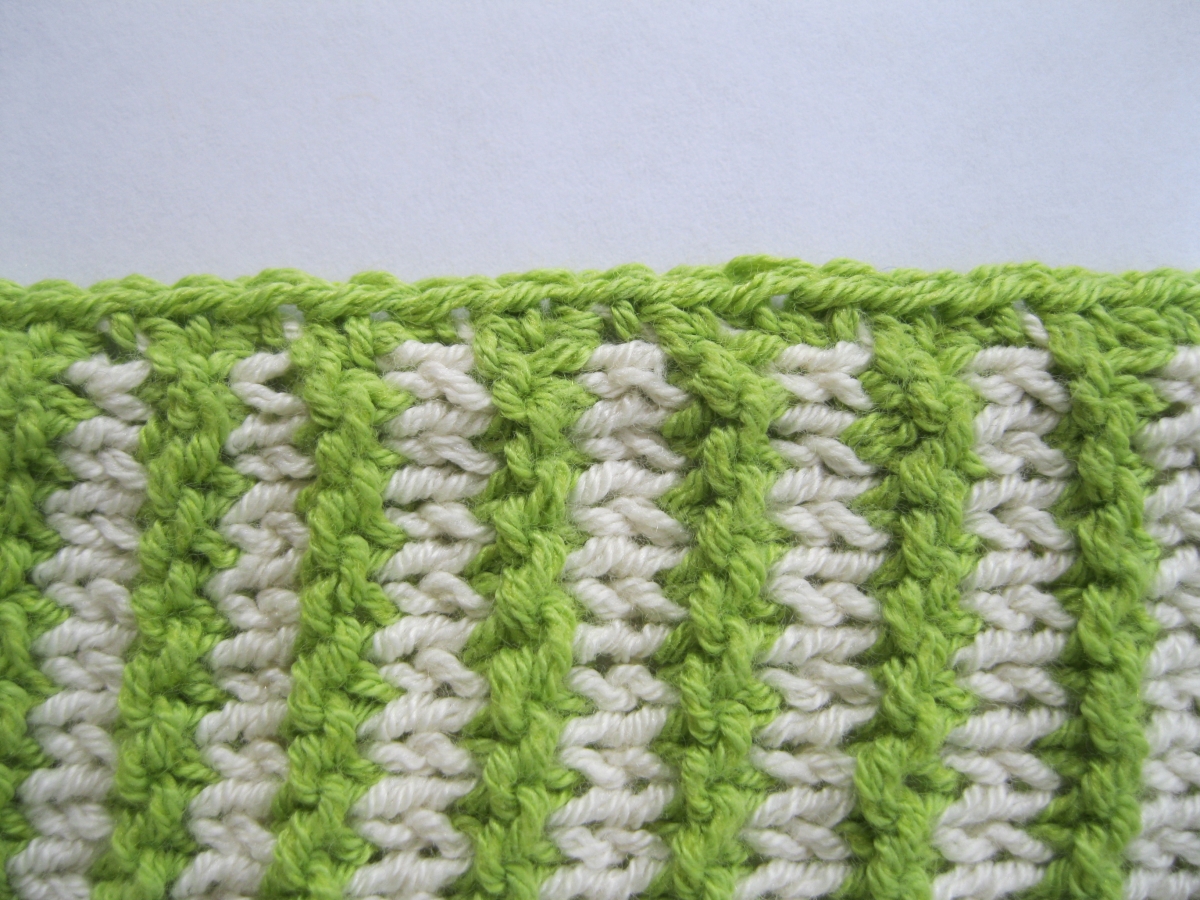
To add the single crochet edge to Ridgely, begin with right side facing and starting at the right hand end of the Striped Body edge. With a size B or C hook, move from right to left working a single crochet in desired color. Work the crochet spaced at an even rate to match the tension of the finished edge. Unlike knitting, crochet is easily unraveled to make adjustments. When the left end is reached, cut the yarn and draw it through the last loop on the crochet hook.
To download a printable version of these instructions, click here. Look for a condensed, full version pattern of Ridgely at the end of the month available in my Pattern Shop and Ravelry.
Please remember to enter the prize drawing. Your entry provides Skacel with valuable feedback and participation numbers. This KAL would not be possible without their sponsorship!
It has been my privilege to further your knitting education with the Progressive Needles Knit Along. Your kind comments, beautiful photos and encouragement towards others have created a warm knitting community right here. I look forward to knitting with you once again in July! (To learn more, read below.)
Happy knitting,
Michelle
July Knit Along
Please join me for a Summer Rerun of one of my favorite KALs – Center of Attention! We know that many knitters choose pursuits other than knitting in the warmer months so we are waiting until Fall to debut a new yarn and pattern. (I promise, you will be dazzled!) Also, with so many new participants in the KAL, it will be fun introducing them to this great toe up sock design. If you have been a faithful KALer from the start, use the opportunity to knit another pair and get a jump on your holiday projects while donating to a good cause.
Why Center of Attention? This pattern is special for two reasons.
- For every skein of Trekking XXL “Susanne” purchased, Skacel will donate $10 to the Marsha Rivkin Center for Ovarian Cancer Research. This lovely sock yarn was specially dyed in the turquoise color of ovarian cancer awareness.
- Because of this pattern, I met so many of you!
Be sure to subscribe to my newsletter to receive updates and reminders for all upcoming Knit Alongs. See you in July!
Supply List
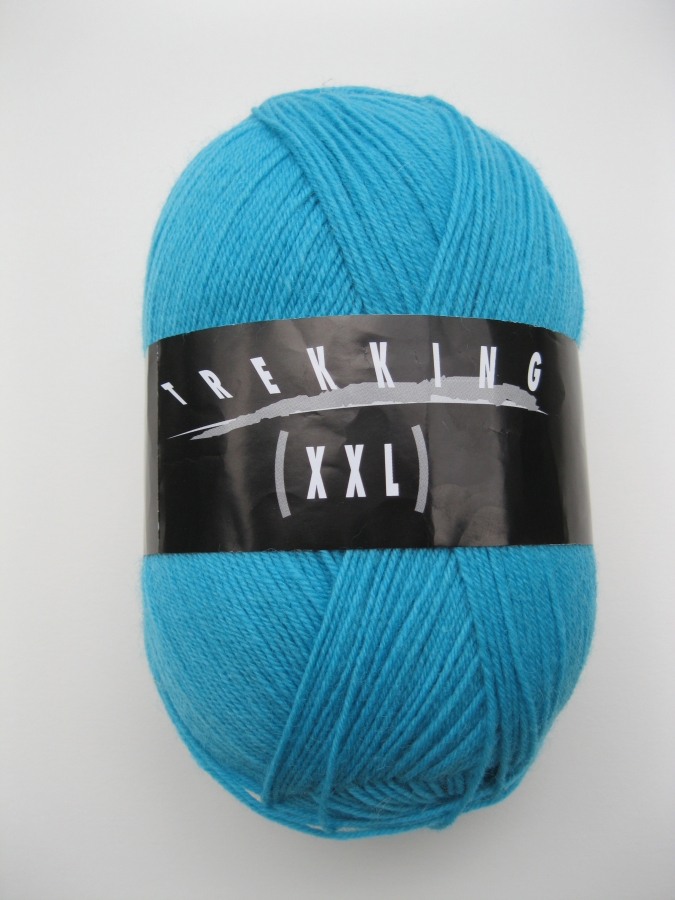
- Trekking XXL – 75% Superwash Wool, 25% Nylon – 459 yards/100g (one skein). Sample knit in Color “Susanne”.
- Size 1 (2.5mm) needles or size necessary to achieve gauge of 8 stitches per inch. Pattern may be knit with double points, two circular knitting method or magic loop.
- Cable needle