
With the knitting behind us, it’s time to seam the fabric for a pillow you will be proud to display. I have a comprehensive video that will take you through every step of the pillow seaming process. From pinning, seaming, and sewing on buttons, my Pillow Seaming video will take the guess work out of finishing. A brief description and additional photos are included in this post.
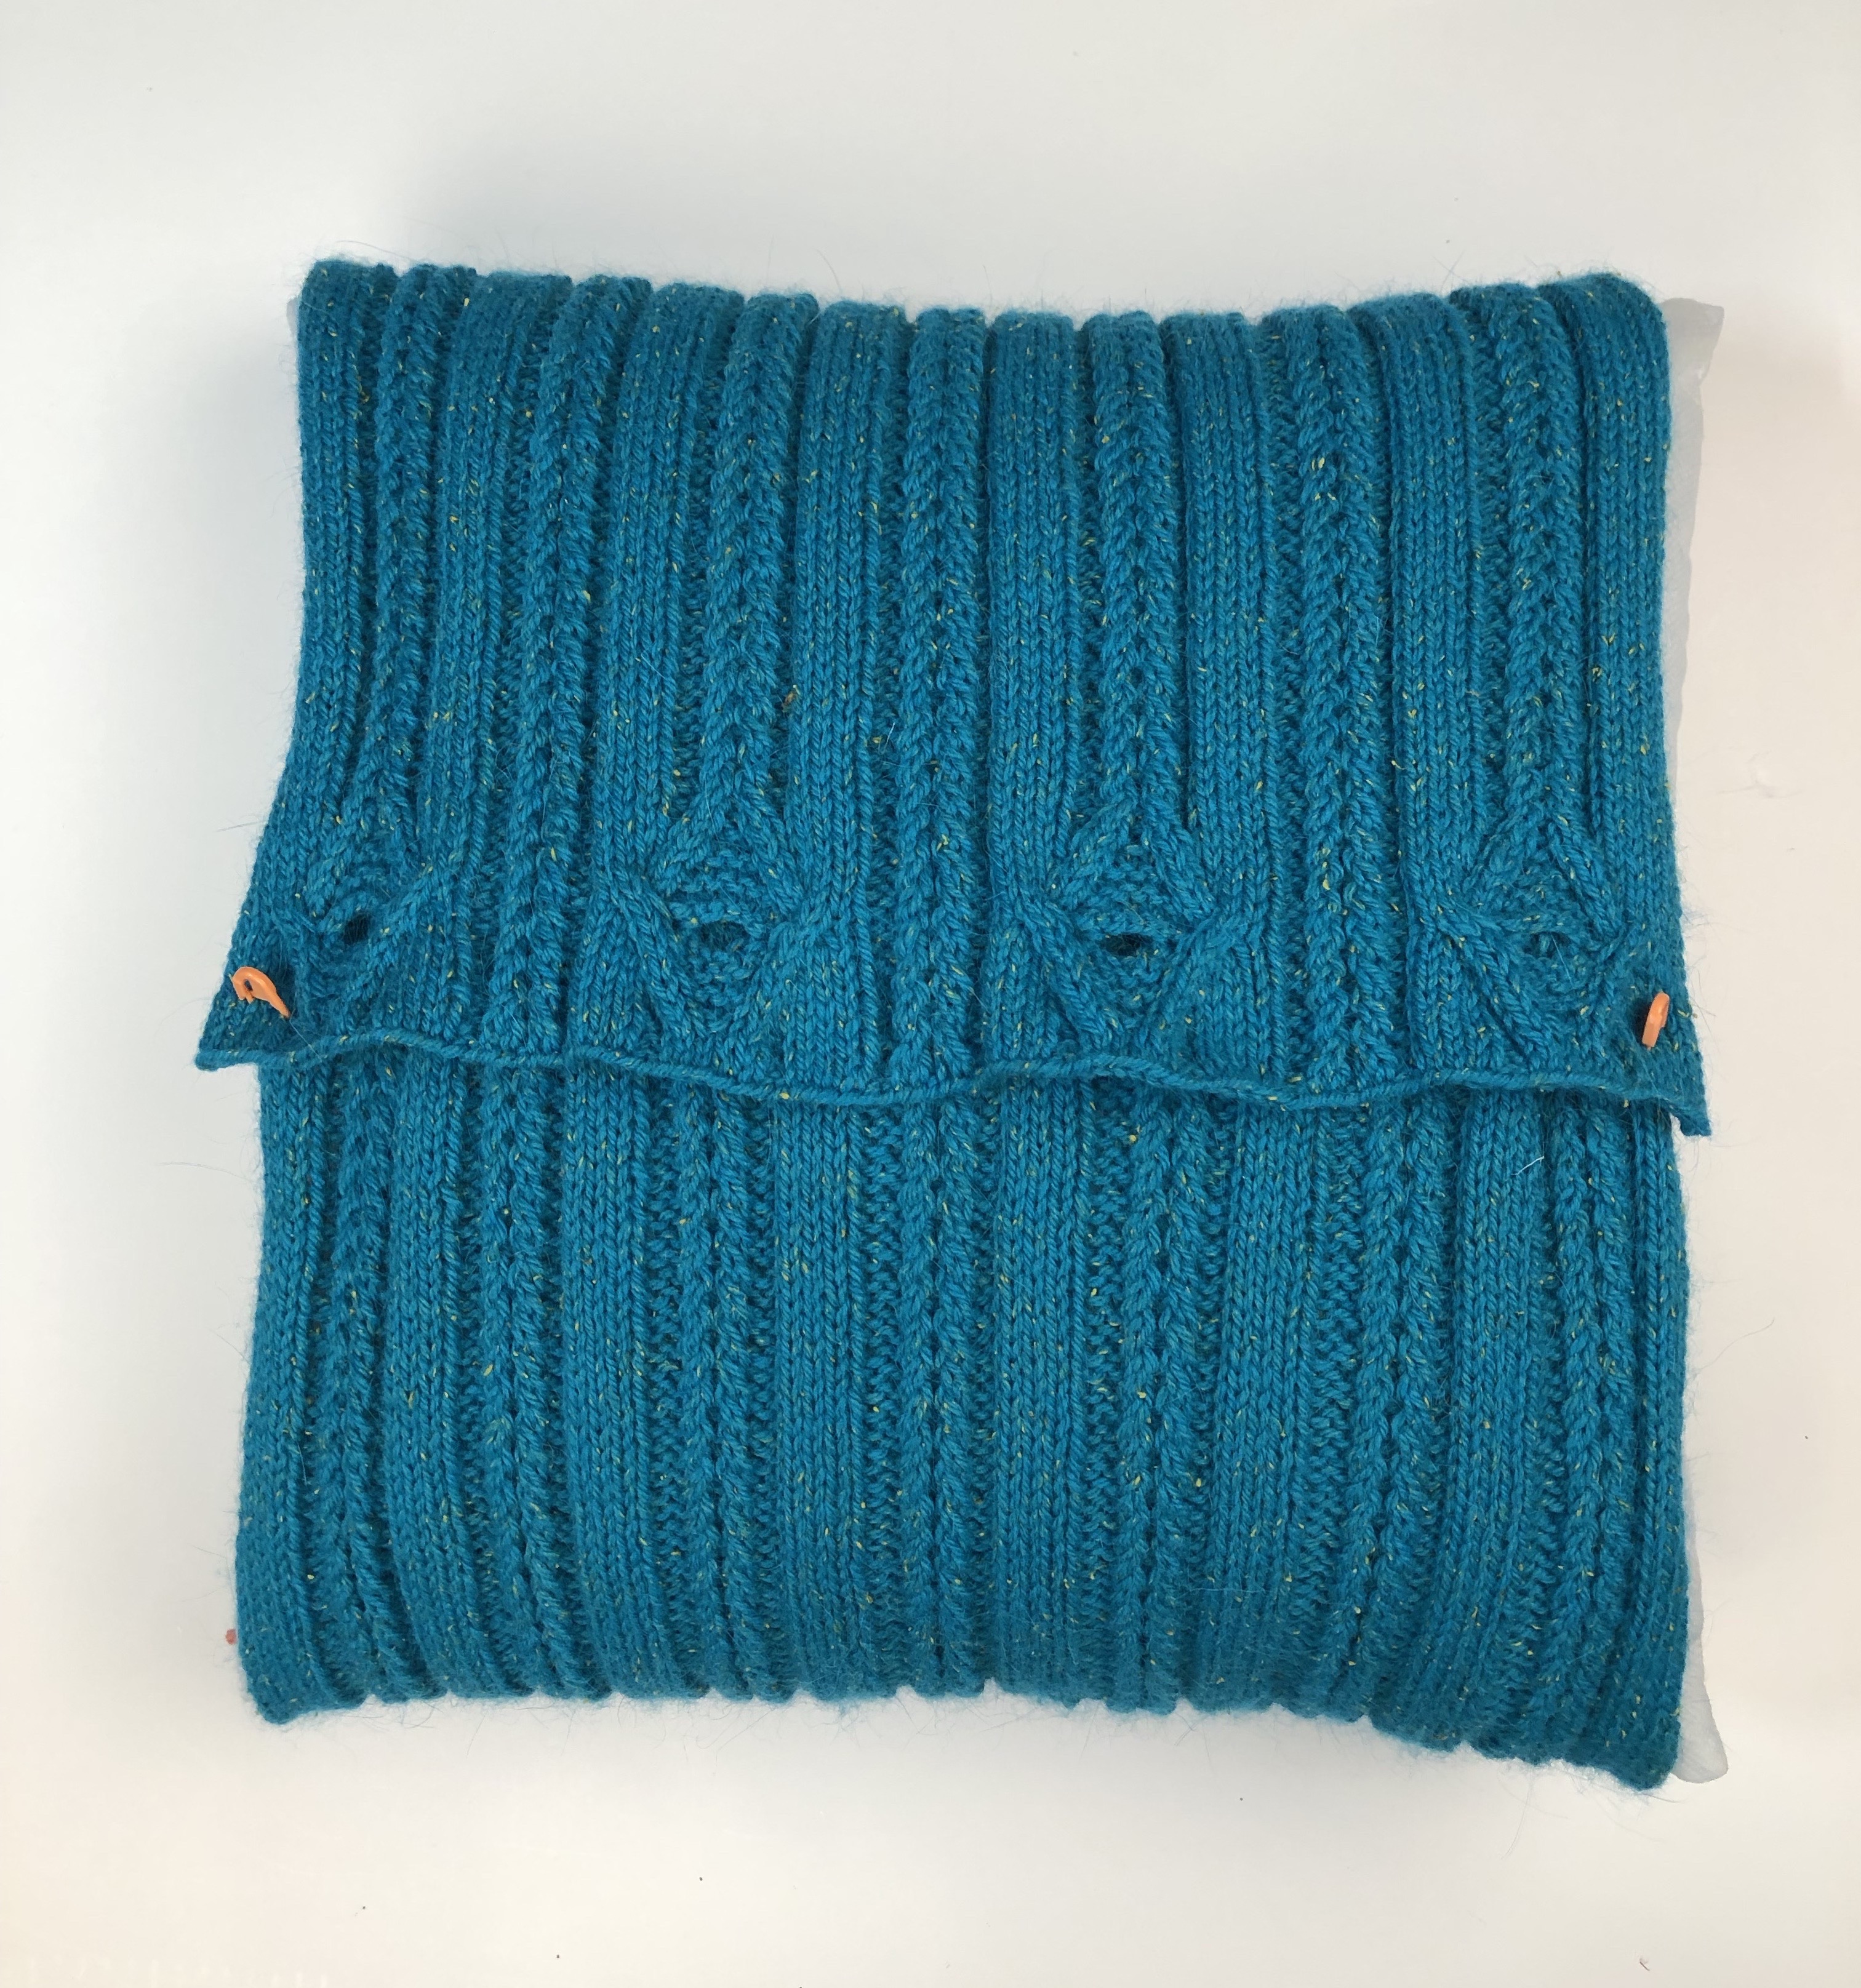
Begin by laying the fabric face down. Center the pillow form over the wrong side of the Front. The lifelines at the bottom and top of the Front will help to center the form. Fold the bottom button band up over the pillow. Next, overlap the top buttonhole band over the lower half and secure with pins. Do not pin the knitting to the form. Try to overlap by at least 1 1/2 to 2″. I stretched my fabric a bit to get a nice snug fit. It is perfectly fine if your piece has more of an overlap.
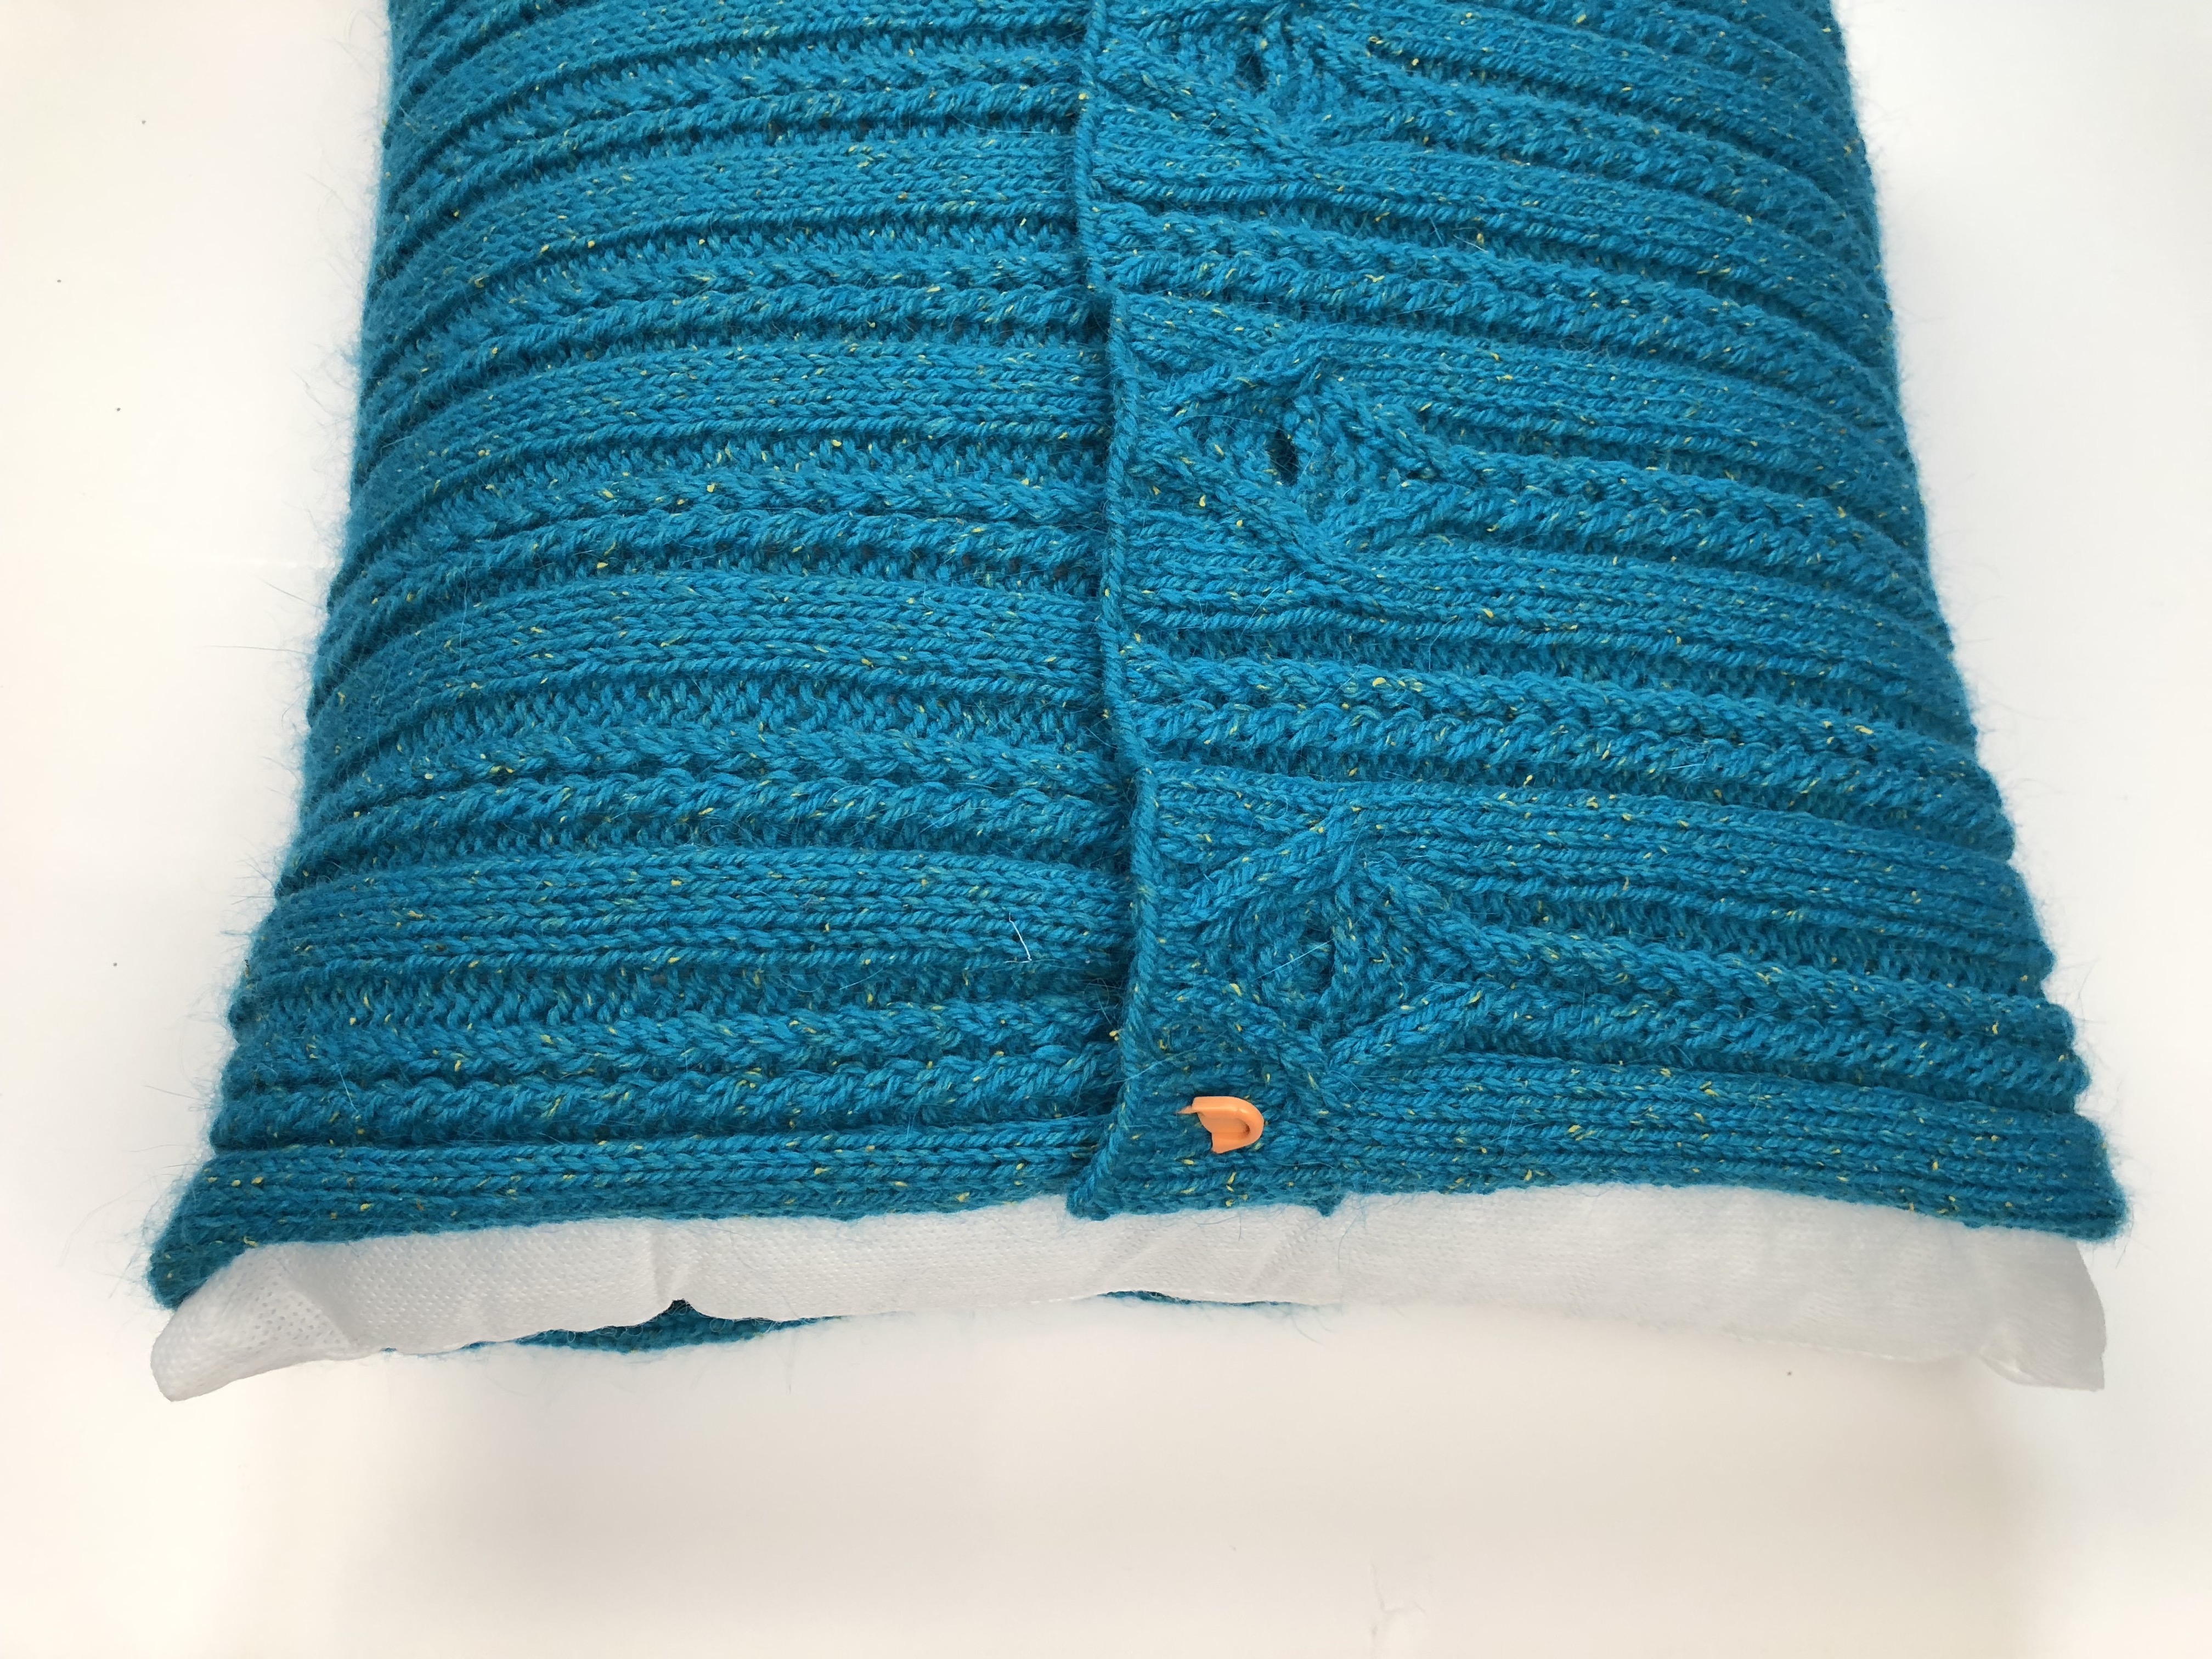
Remove the pillow form and pin the sides together. In a perfect world, the lifelines will mark the top and bottom of the front but if your length was adjusted that is completely fine. Just begin the side seam at the fold where YOUR Front meets your adjusted edge.
With a piece of the project yarn approximately 56″ long threaded onto a tapestry needle, begin seaming the side seam at the lower edge of the Front. Bring the needle from the wrong side to the right side leaving a 6″ tail that can be buried in the seam later. The seam is closed using the Mattress Stitch. My video will take newbie seamers through this essential knitting skill. Unlike standard seaming, beware that the “V”s run in opposite directions due to the folded fabric. Try not to overthink this! Pick a stitch column, or “ditch”, on each side of the opening and stick with it up the seam and all be fine.
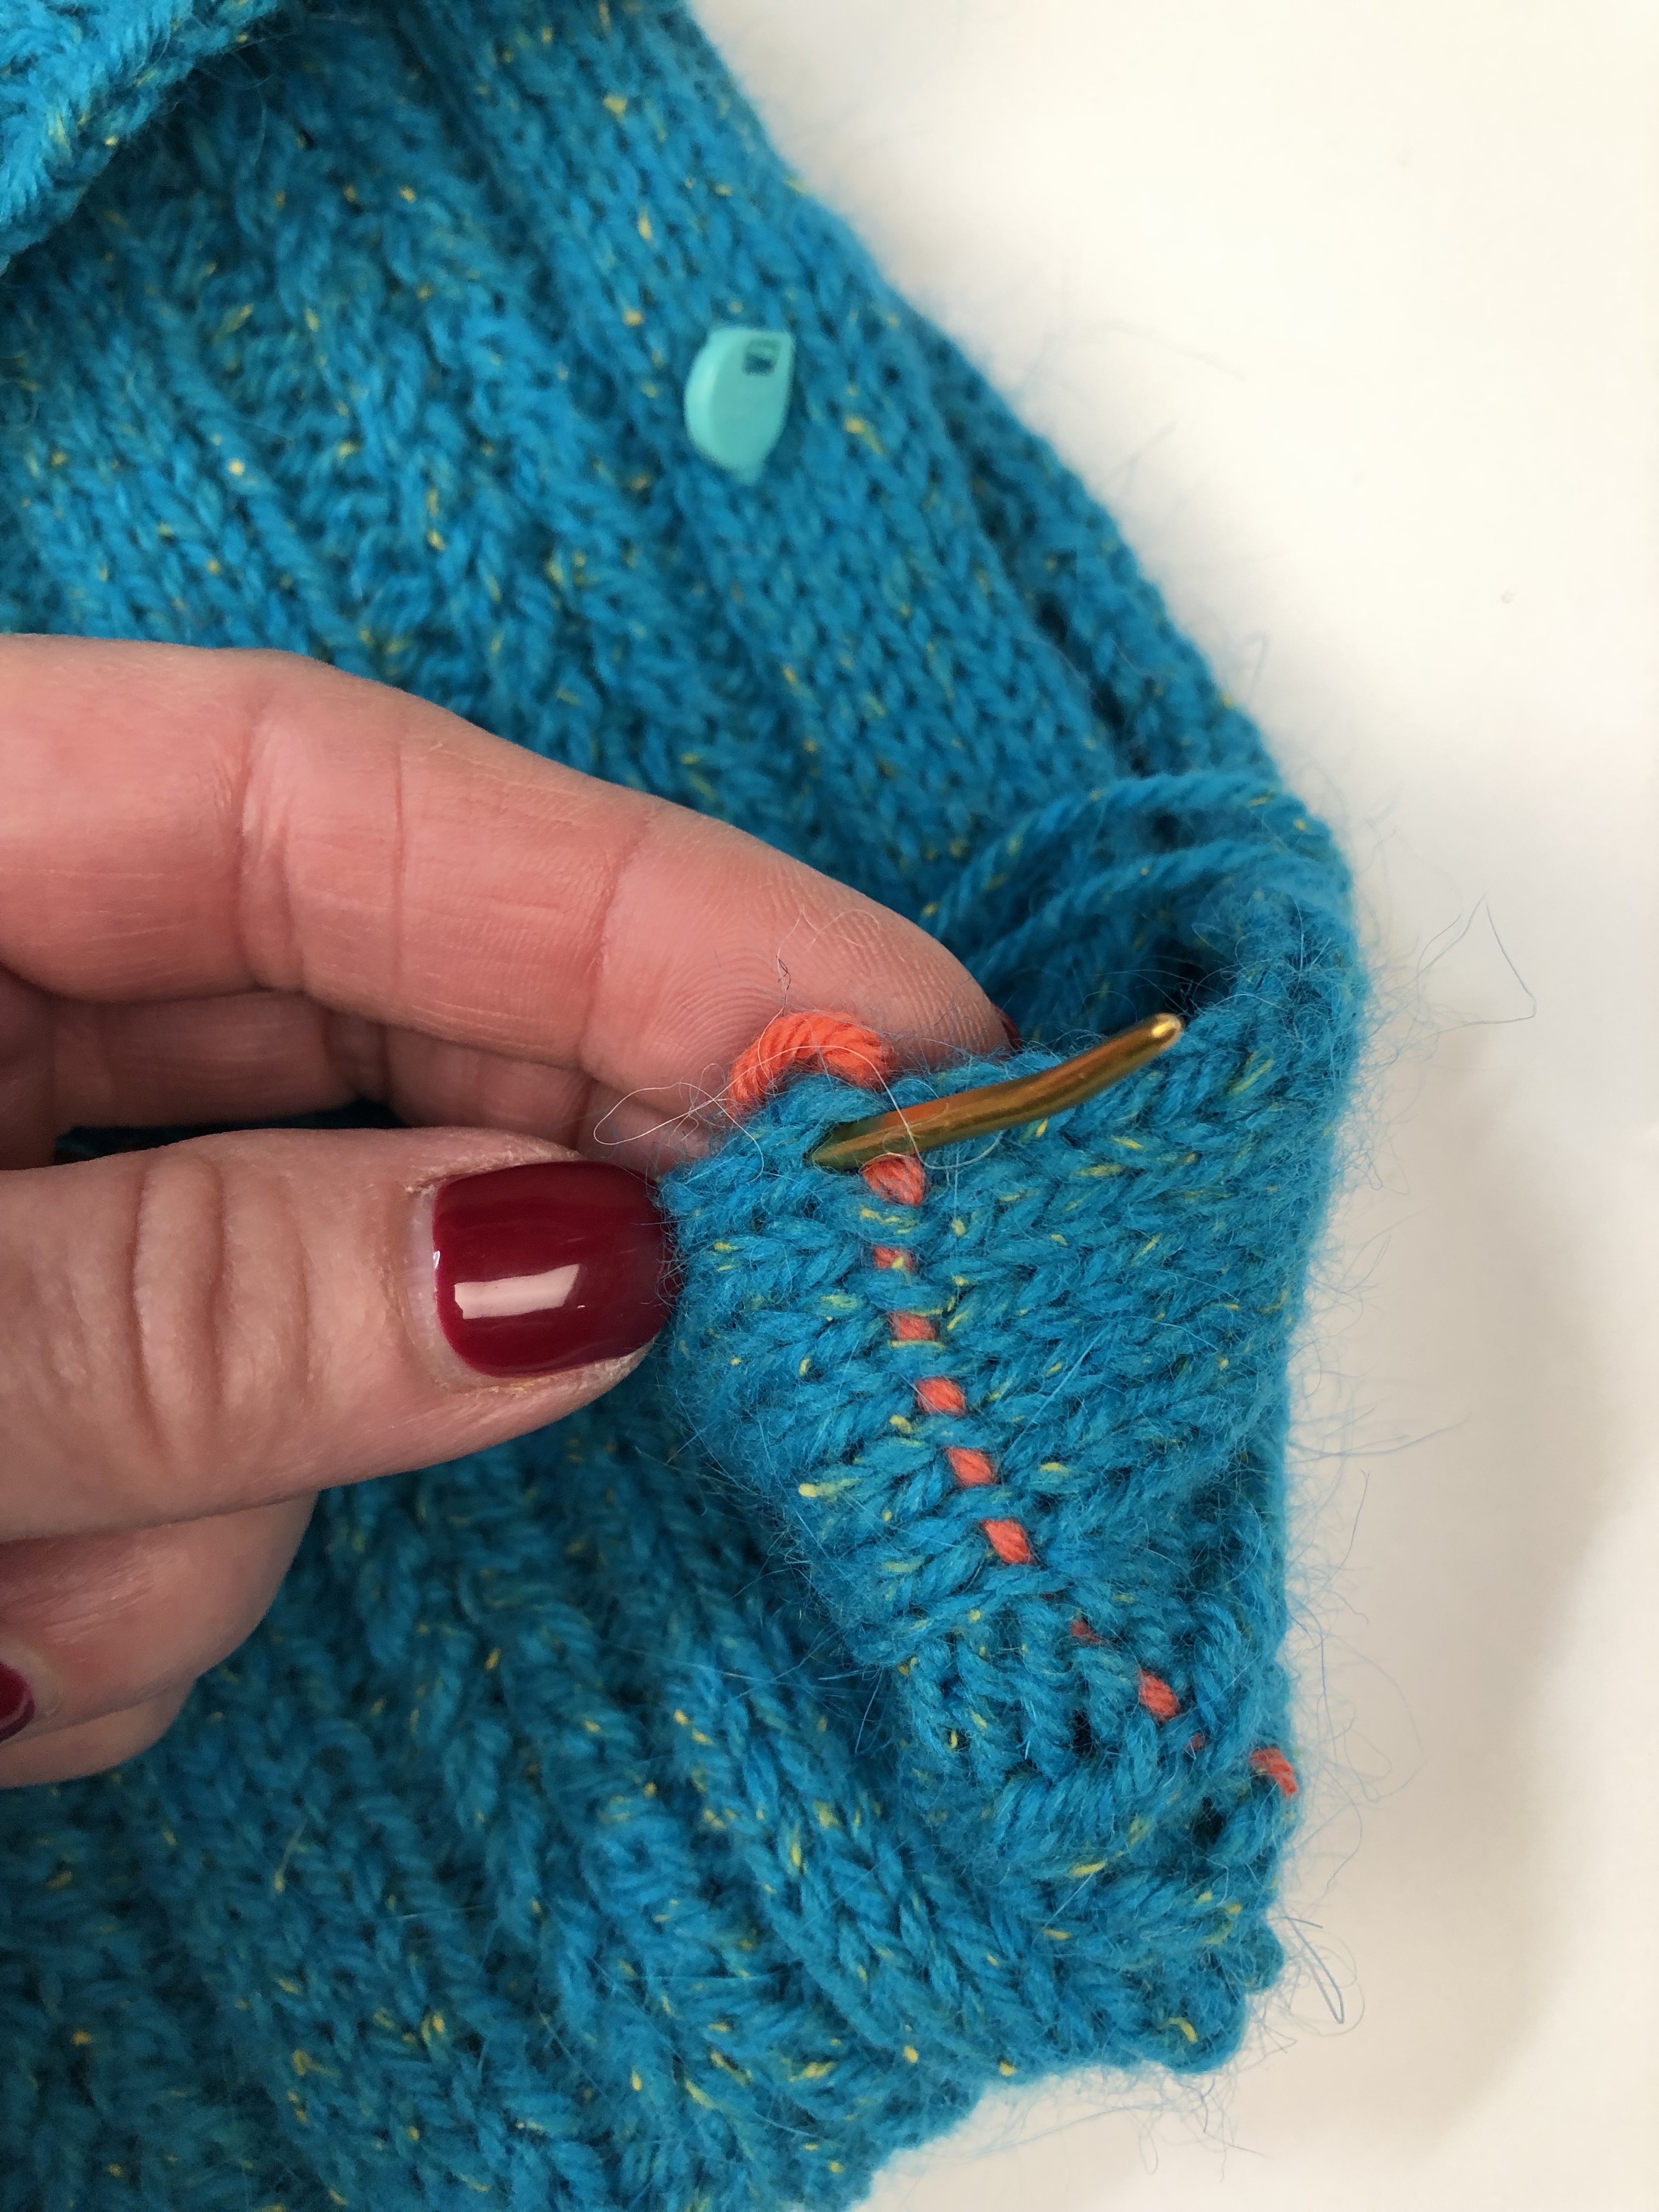
Work the Mattress Stitch to the overlapped fabric. Continue with the Mattress Stitch “catching” the lower flap. Once past the overlap, proceed with the seaming to the top of the pillow. Bring the tapestry needle to the inside of the pillow and bury the tail in the newly created seam. Repeat the process for the other side seam. This is ALL demonstrated in my Pillow Seaming video and is really quite simple to do.
Remove the lifelines and place the pillow form inside of the seamed piece. Mark the button placement with removable markers.
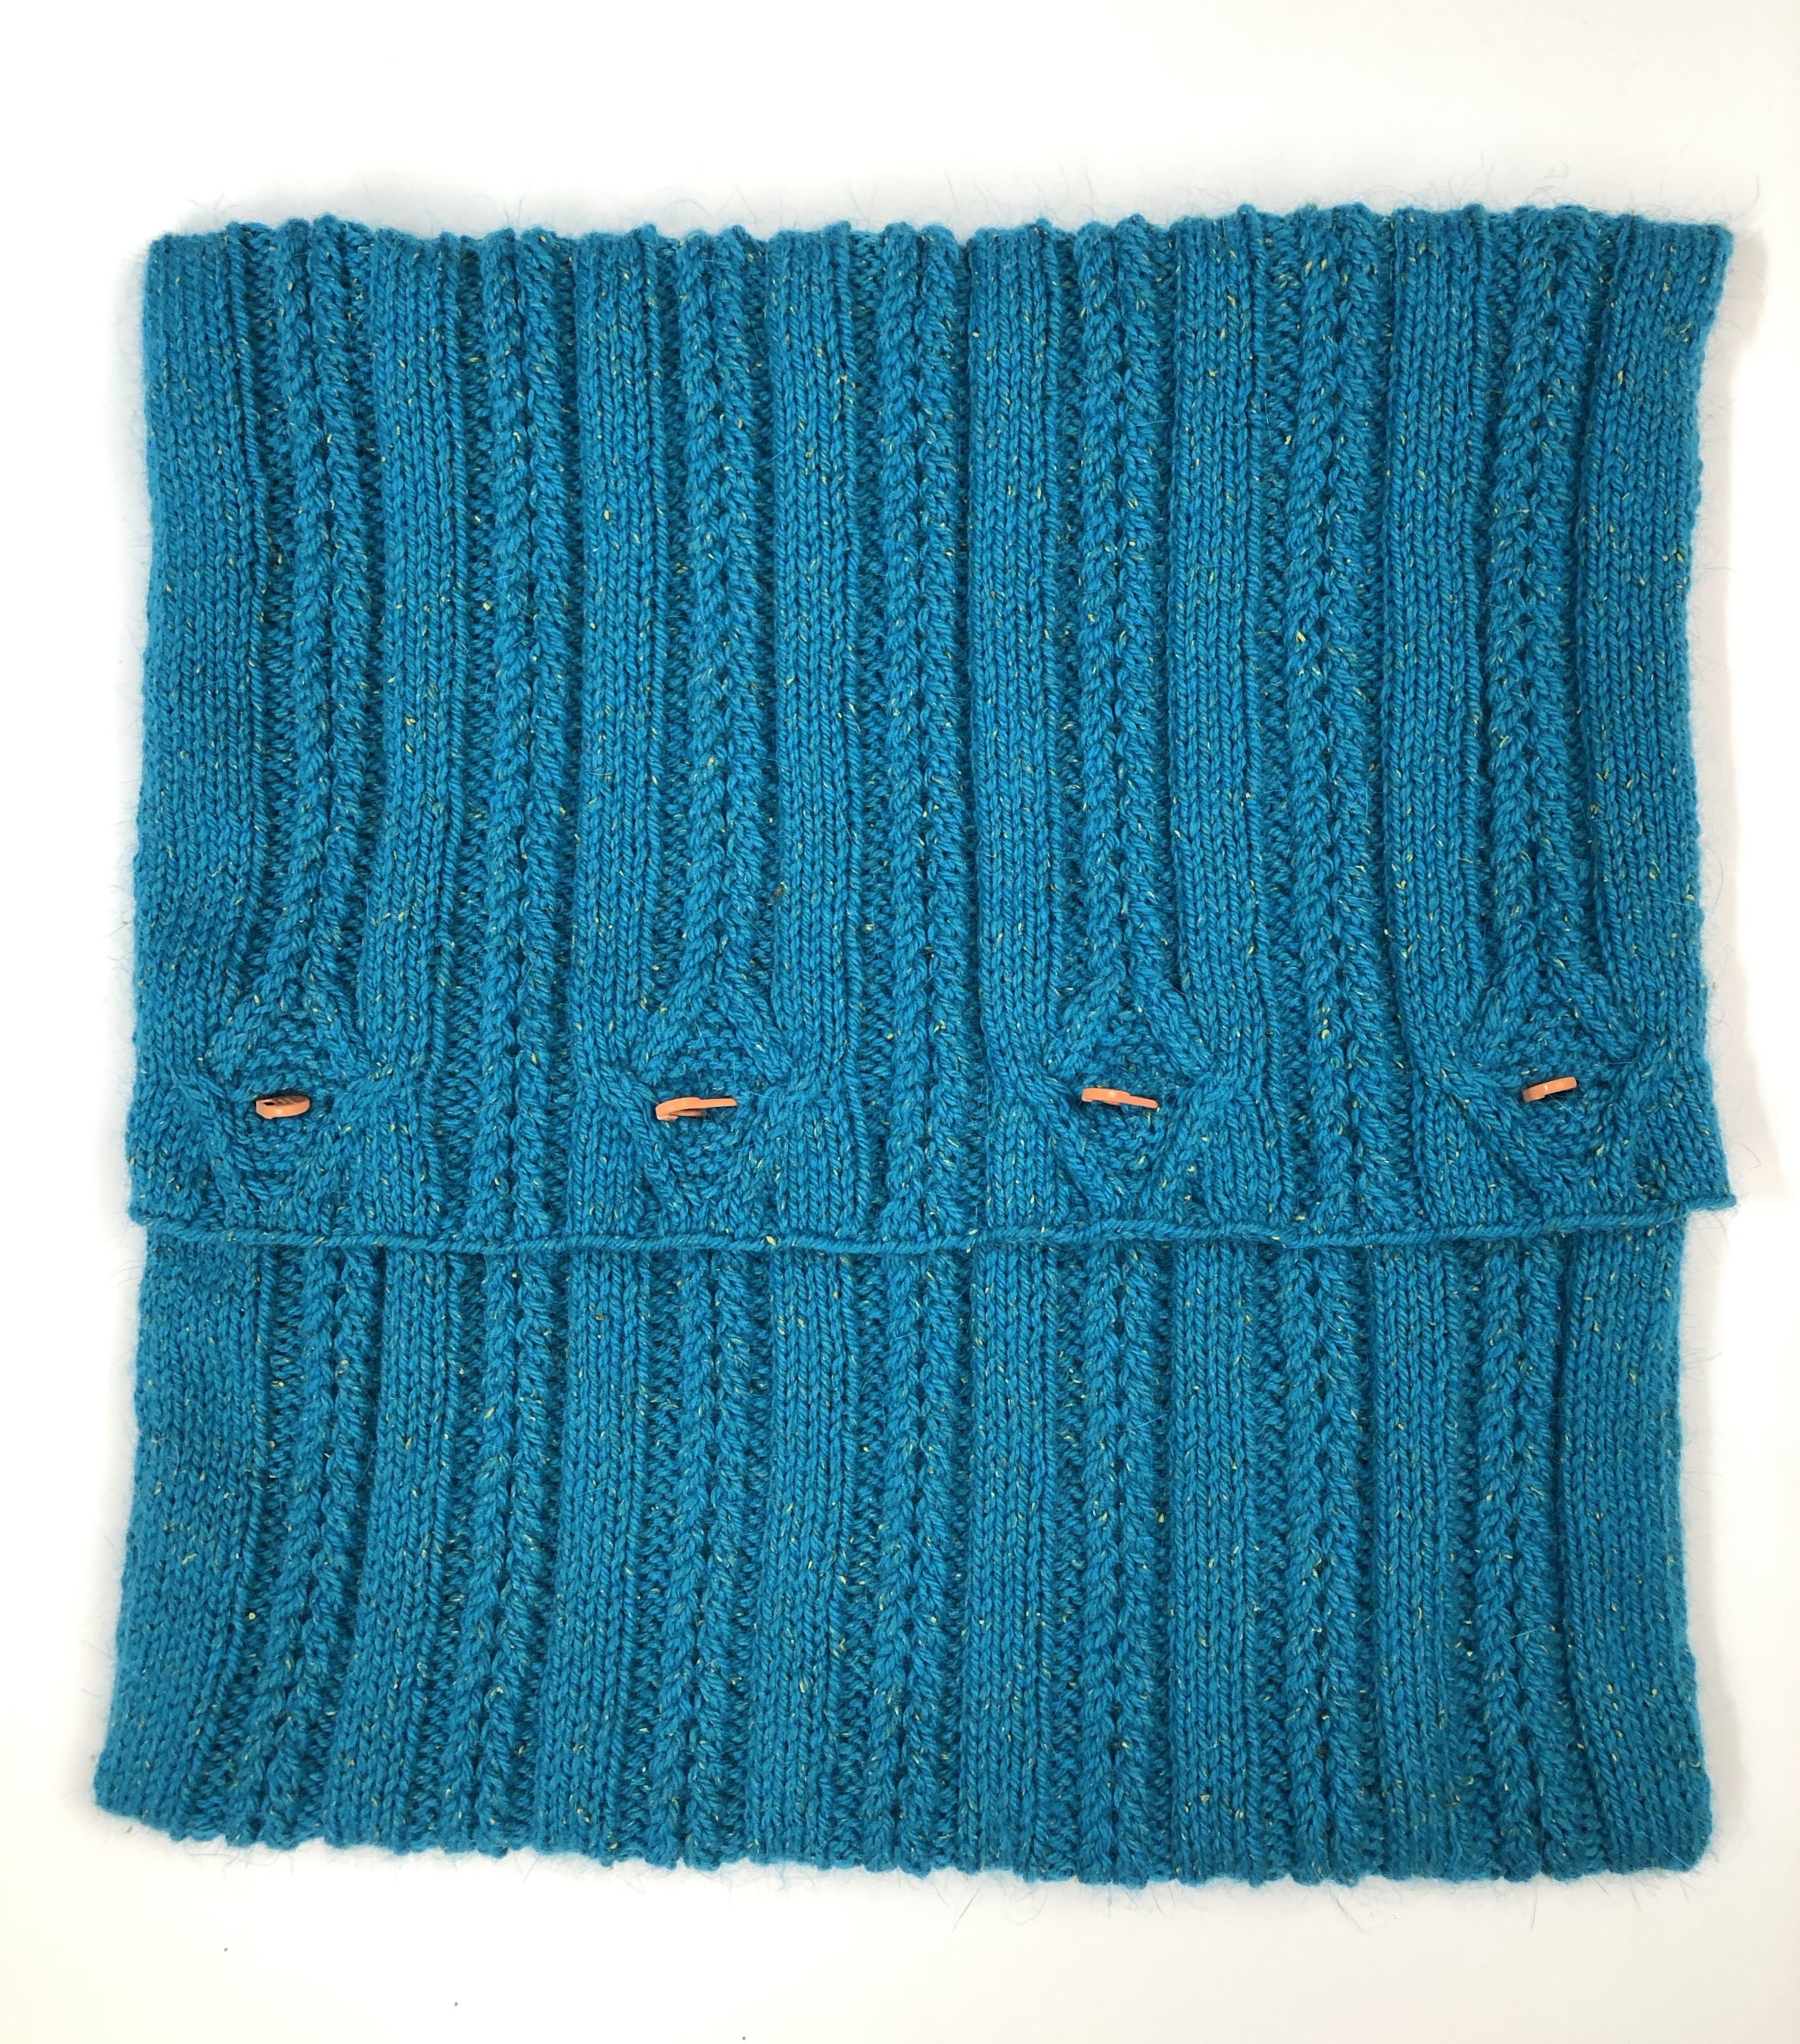
Unfold the flaps to reveal the marked button positions. You can remove the pillow form if desired for easy sewing.

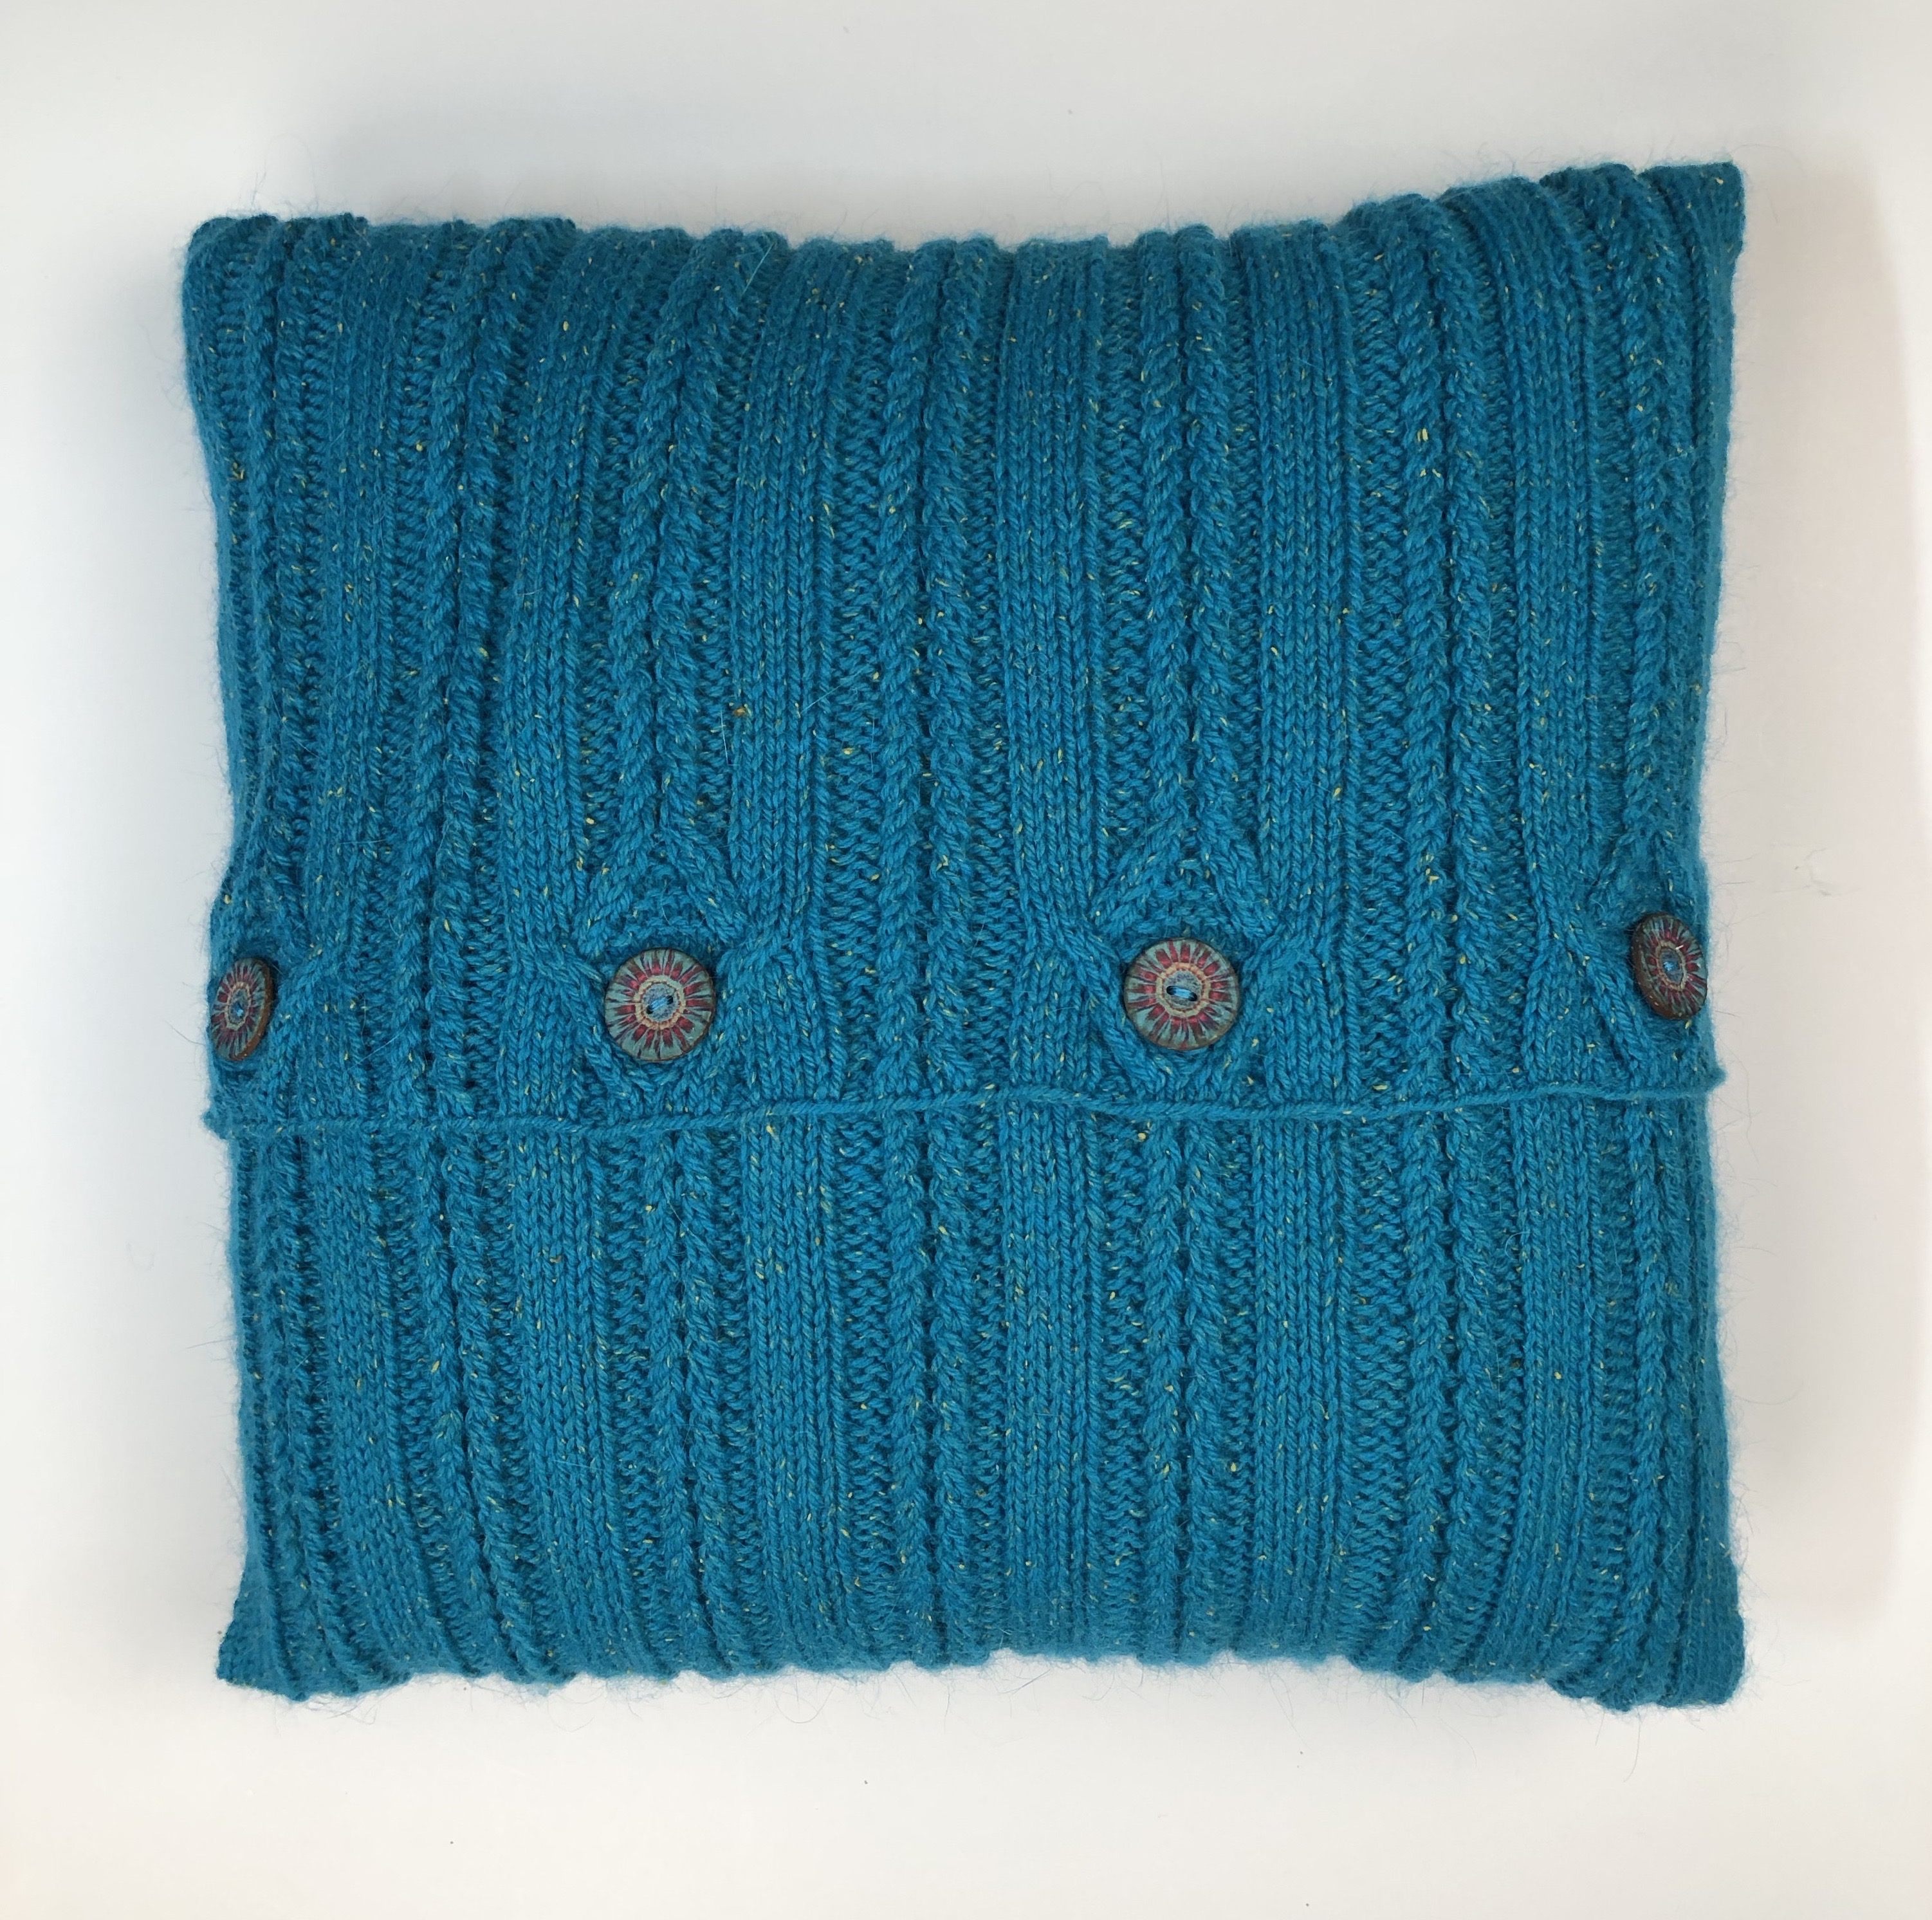
I prefer to use thread when sewing on buttons because it is stronger than most yarn. Also, buttons often have holes that are too small to accommodate the yarn. However, if you can pull the yarn through the button, it is perfectly acceptable to use it. If using yarn, I do recommend using a product like Fray Check to secure the knot of yarn on the back of the button. Once the buttons are sewn in securely, replace the pillow form and button the back closed.
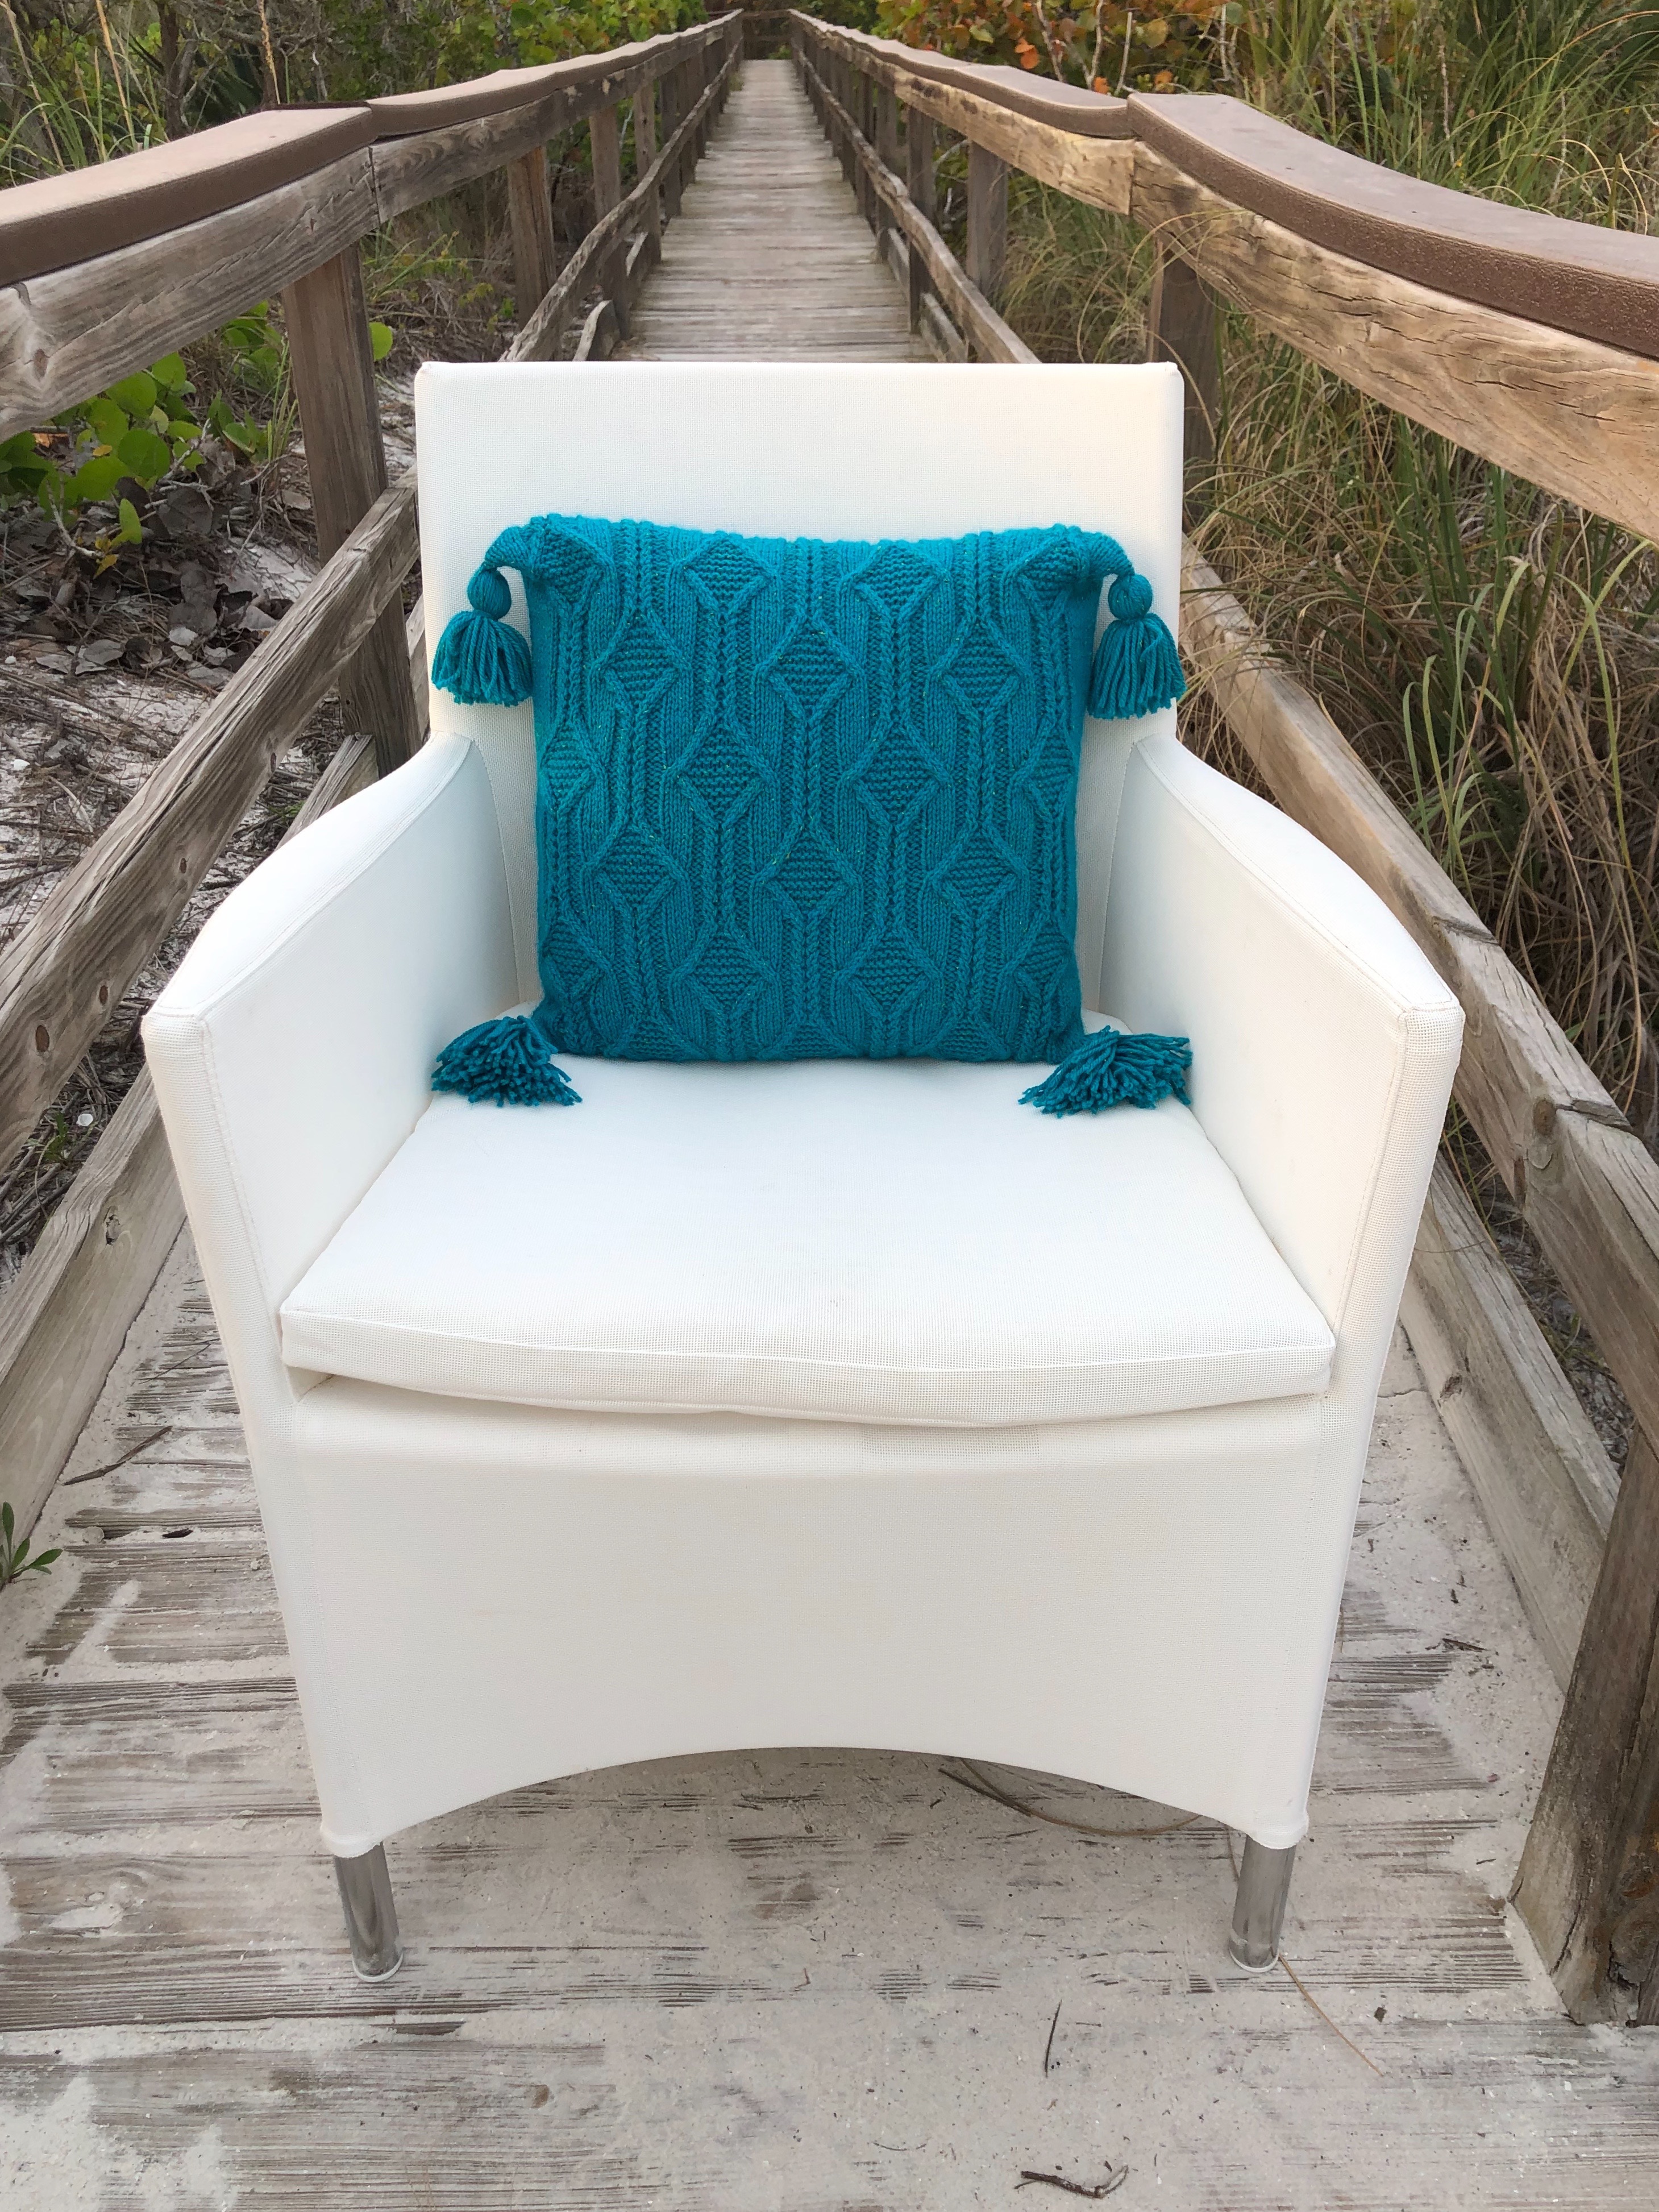
An optional finish is to add tassels to the corners of the pillow. Tassels are the hottest thing in home decor and I just knew that I wanted to add them to my pillow. Tassels are super simple to make especially using my Tassels video. With 25g remaining in my 4th skein, I made four 5g tassels. I cut a piece of cardboard to a height of 3 1/2″ inches and wrapped the yarn around it 60 times. If you have less yarn, you can wrap fewer times to conserve the yardage. After making the tassels, I steamed them to smooth out any squiggly strands of yarn. Warning: tassels are addicting and you’ll want to add them to everything!
A condensed, pattern-only version of Cable Channel is available here and on Ravelry. The pattern is free through May 31st and then will only be available for purchase on Ravelry.
Pillows completed by May 31st are eligible for the Skacel Collection prize drawing. First prize is a set of addi Click interchangeable needles! Please enter the drawing as it is the only way our sponsor knows if you are knitting with us. Entries = more KALs!!!!! The entry form is available here.
As always, I am so thrilled to be a part of your knitting. I have enjoyed reading your posts and following each one of you. I will be back in October for another KAL full of new knitting experiences. Be sure to subscribe to my newsletter to stay up to date on all of the upcoming details.
Many thank for knitting along,
Michelle
Part Four
Click here to download printable version
Finishing – See Pillow Seaming Video
Weave in ends and block piece if desired. Note: Kenzie blooms and softens with wet blocking.
Place pillow on top of wrong side of Front.
Fold piece at lifelines, overlapping Buttonhole Band by 2”. (Piece may need to be stretched to overlap edges which creates a nice snug fit.) Pin in place and remove pillow form.
Pin sides together through all thicknesses.
Beginning at lower Front edge and using Mattress Stitch, close side seams catching overlapped Button Band. See Mattress Stitch Video
Insert pillow form and sew buttons into place on Button Band.
If desired, make four tassels with remaining yarn and attach to corners. See Tassel Video
(My tassels were made according to video over 3 ½” cardboard and wrapping yarn 60 times. Each tassel used 5g of yarn.)