
I hope you enjoyed knitting Side One of Match Play and have marveled at the lovely mirror imaged twists. I just adore how both the diamonds and dots pop off the fabric! As promised, this week’s clue is extremely short to allow ample time to finish this side of the poncho.
Part Two is comprised of a shallow neck shaping and the shoulder edging. These rows are worked entirely in garter stitch as a nice complement to the lower and side edges. Each side of the neck is worked separately with the center motif stitches resting until the neck is completed in Part Four.
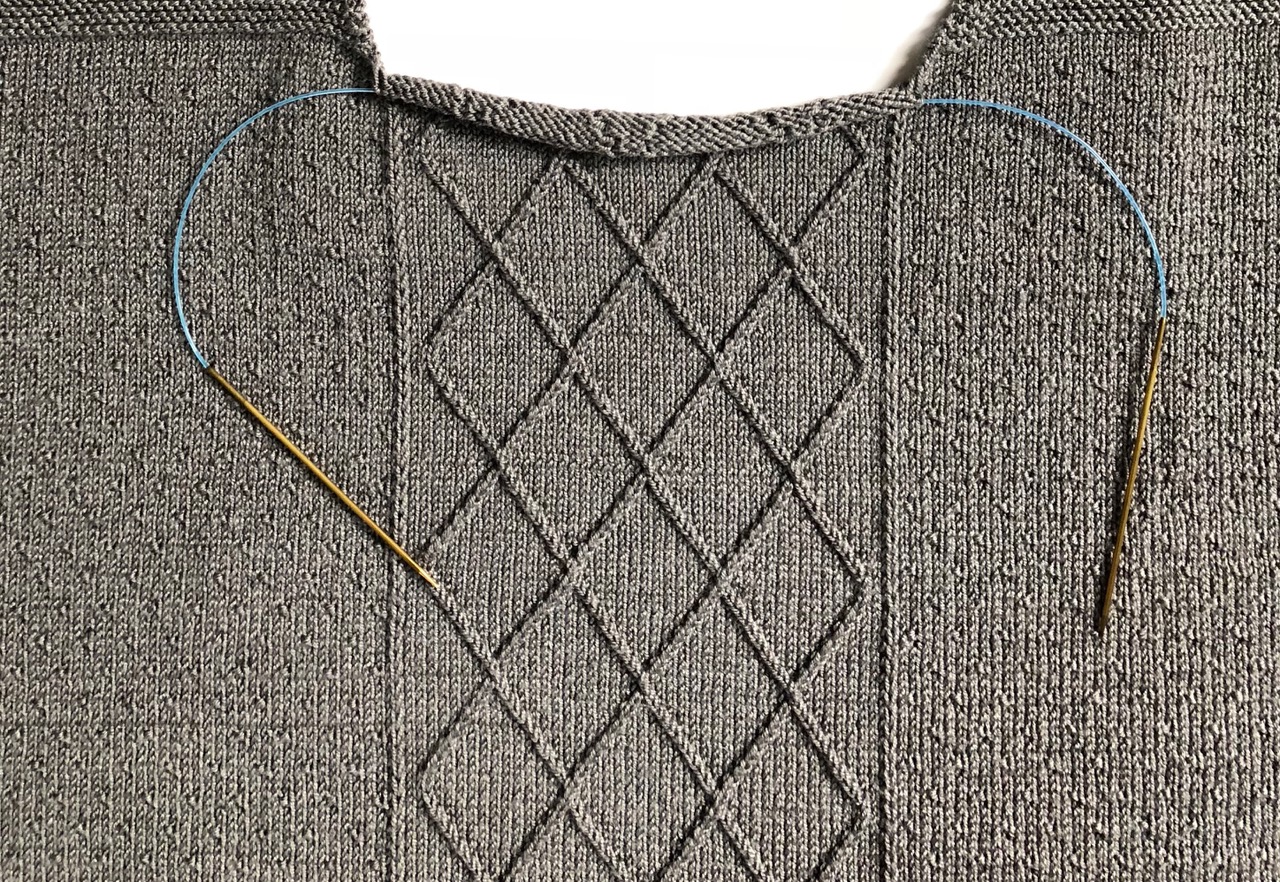
I was so excited to finish my poncho that I seamed the two sides together and forgot to take a photo of Side One as seen at the conclusion of Part Two. I don’t want to spoil the mystery of Side Two (or undo my lovely seam), so I cropped a photo to show Side One’s neck shaping. The above photo shows Side One with the center stitches on hold. The garter stitches on each side of neck will be on holders as well – 3 holders in total. For holders, waste yarn or spare circular needles work well.
Left or Right?
Left side, right side, left hand side, right hand side – it can be very confusing in garment instructions. In garment lingo, the left side of the garment is the portion of the garment that will be on the left side of the body when wearing the garment. Using the above photo as a reference, the stitches to the right of the center stitches are the left neck stitches because they will sit on the left side of the body when the poncho is worn. If this seems all backwards, just trust the pattern and it will all work out perfectly.
Neck Shaping
For this section of the poncho, the edge stitches (first and last 5 stitches of each row) are included in the row instructions. Work each row exactly as written and you will sail through this portion.
We begin with the left neck side of the piece because that is where the working yarn is still attached to the fabric and ready to knit a right side row. Continuing with the slipped stitch edge, knit to 3 stitches before the center stitches. Work a k2tog followed by a knit one. Placing the decrease one stitch away from the edge is known as full-fashioned shaping. It leaves a clean edge for picking up stitches and a smooth decrease line. The k2tog is used since it is a right leaning decrease and follows the slant of the neckline. There are now 79 stitches on the left side.
Place the 48 center motif stitches on a holder and then the remaining 80 stitches on a second holder. The markers on the left neck can be removed.
Turn the piece to the wrong side and work only the left neck stitches. The wrong sides are worked in all knit to form the garter stitch edge. Continue the remaining left side rows. After Row 8, cut the yarn leaving a 12 foot tail for future seaming. I used about 10 feet in my seam, but I recommend a bit more as I would hate to see you run short. Place these 76 stitches on a holder.
For the right neck side, return the 80 stitches from the second holder back onto the needles. The center stitches will remain on their holder. With right side facing, rejoin the yarn at the neck edge. A knit one followed by an ssk is worked as the shaping on this side of the neck. Again, it is placed one stitch away from the edge with a left leaning decrease chosen to mimic the slant of the piece. Complete all eight rows and leave a long tail as on the other side of the neck.
Looking Ahead
Part Three brings three options for knitting Side Two. I can’t wait to share the different designs with you. If you are one of the super speedy knitters that is completely done with Part Two before next week, you can go ahead and work the Lower Garter Border as in Side One. Do NOT work the Set Up rows as they will be changed for Part 3.
Until next week, happy knitting!
Michelle