Welcome to the Progressive Needles Knit Along sponsored by Skacel Collection! As always, the KAL brings a new pattern solely focused on increasing your knitting skills. Behind The Scenes is a cabled scarf which is buttoned up to be worn as a cowl. Whether you are a novice or experienced cable knitter, this design provides plenty of learning opportunities.
Before we begin, here is an overview of the KAL:
- A portion of the 4-part mystery pattern is revealed here on the 1st, 2nd, 3rd and 4th Thursdays in October at 9am Eastern time. The weekly pattern, video resources and lots of helpful tips are included in each post. An abbreviated, pattern-only version is included to download.
- All techniques are supported with video instruction at knitpurlhunter.com
- All questions and comments are monitored daily both here and in the Knit Purl Hunter group on Ravelry. It’s like having your own private knitting tutor!
- Projects completed by November 15 are eligible for the monthly prize drawing – first prize is a set of addi Clicks! See skacelknitting.com for all the info.
- VERY IMPORTANT: Behind The Scenes is a FREE pattern through November 30. After this date, it will only be available for purchase on Ravelry. Be sure to download each portion of the pattern prior to this date. The helpful tips and videos for each section will remain on my website indefinitely.
What’s In A Name?
The reason for naming this pattern Behind The Scenes is two-fold. First, I will be giving you a glimpse into the design process and the decisions driving the stitch and technique choices. This backstage look will not only help you knit this pattern successfully, it will give you the confidence to try your own hand at designing and modifying patterns. Secondly, all cables are formed when a group of stitches are “behind” another group of stitches. Our pattern will contain explanations to help you understand the role of these background stitches.
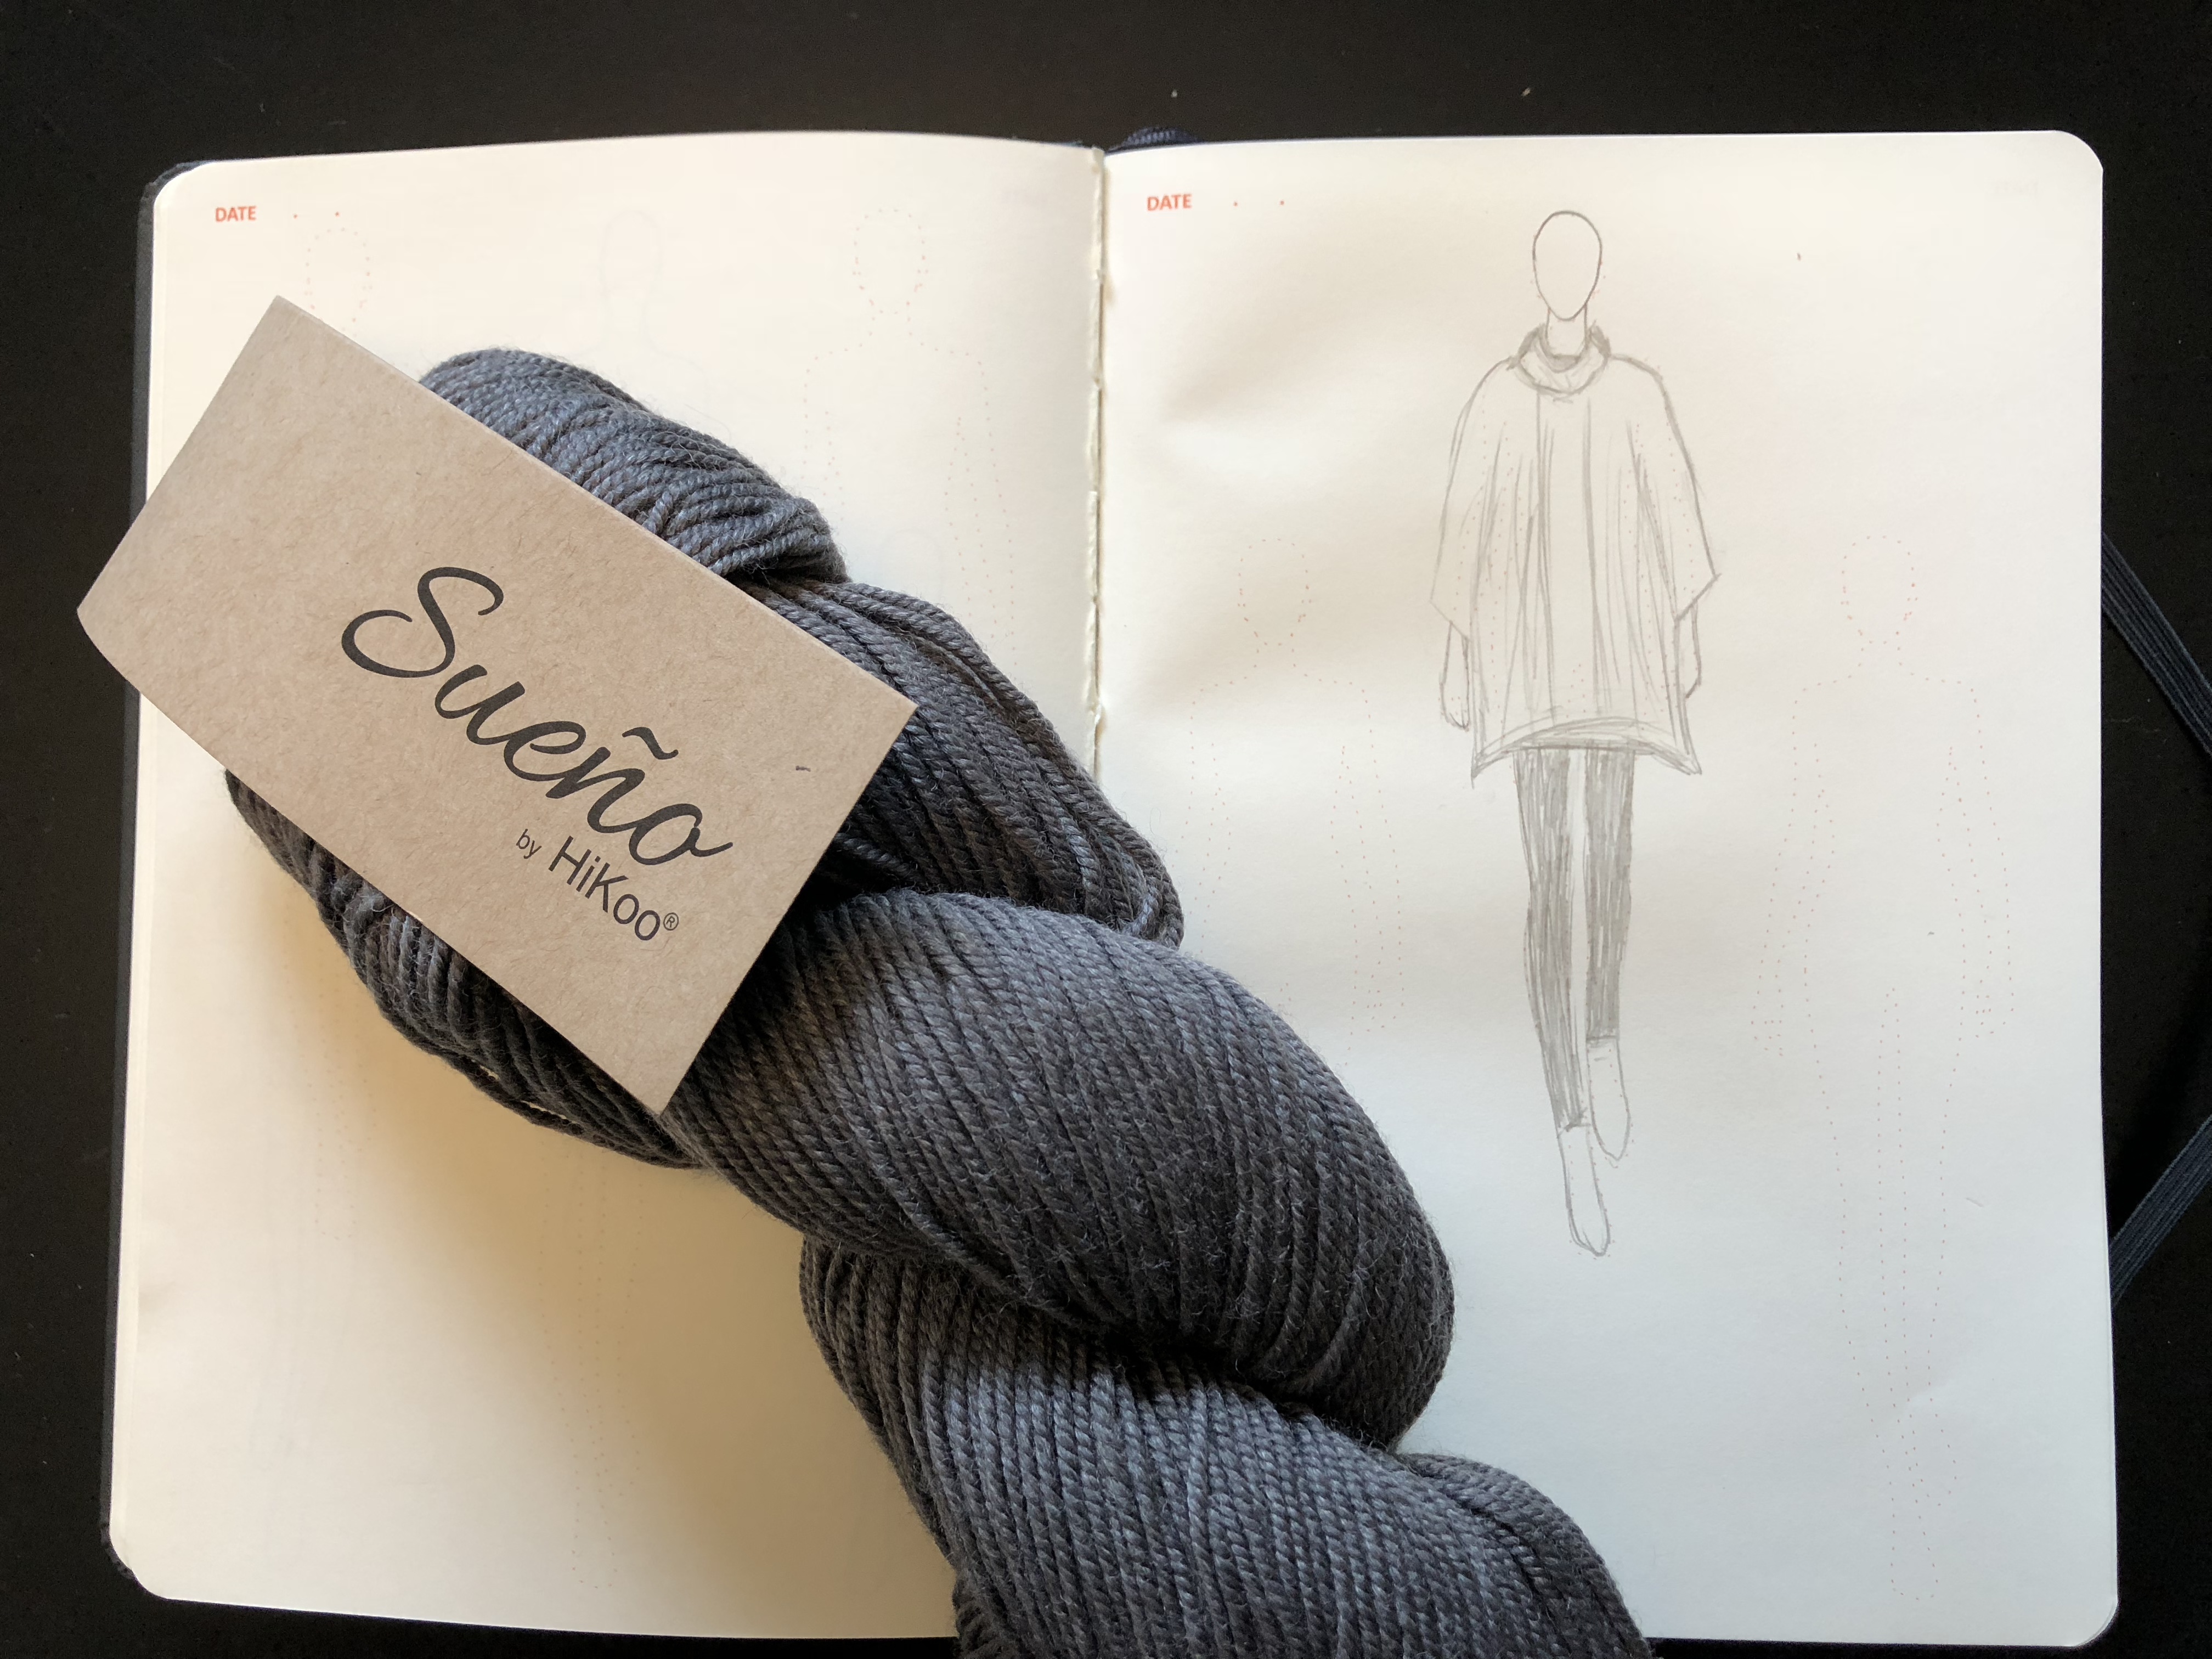
The pattern has the added bonus of being knit with the delightful softness of HiKoo Oh! yarn. When the yarn was in its development, all who touched it exclaimed “Oh!” and its name was born. One touch and you will agree with the choice! This yarn is manufactured on one of the very few machines worldwide that can create a chainette construction directly from roving. Since the yarn is never spun, it allows for the fiber to be as soft as possible, while maintaining durability and strength. You’ll love wearing it around your neck!
Yardage
One of the biggest challenges for a designer is determining how much yarn to recommend for the pattern. If the design uses too much yarn, then there is a risk of knitters running short of yarn and that is a HUGE problem. On the flip side, having too much yarn left over leaves many knitters unhappy about purchasing the last skein. All of us would love to knit up every inch of yarn in the project, but it is nearly impossible to design a pattern for that. In Behind The Scenes, the pattern leaves 18 g/34 yards leftover when knit to gauge. Even the most careful swatching can result in a variation of yarn usage. For this reason, I include the yarn weight at the conclusion of each section. Weigh your skein throughout the pattern to evaluate your usage compared to mine. Should your yardage differ, there will an opportunity to adjust the length of the piece in Part 3 of the KAL.
Getting Started
Part One begins with a flat lying edge leading into horseshoe shaped cables that will house each button. Garter stitch is perfect for this edge to prevent curling with just a minimum of rows. Cast on for this edge using the Long Tail Cast On. This cast on places knit stitches on the needle. At the completion of the cast on in flat knitting, the work is turned leaving purl stitches facing front. The purl stitches blend nicely into the garter edge and helps promote stability.
Immediately following the cast on, the sides of the piece are worked in an I-cord edging. Other common flat-lying edges (garter, seed) would have worked, but the I-cord has the same “bulk” as the interior cables for a harmonious pairing. An I-cord edge is quite easy to work. Simply slip the last two stitches of every row with yarn in front. (Remember the general knitting rule: stitches are ALWAYS slipped as if to purl unless otherwise stated.)
Cable School
Cables are made by slipping a number of stitches from the left needle to a cable needle. The cable needle stitches are then held to either the front or the back of the work while working a number of stitches off of the left hand needle. Lastly, the stitches held on the cable needle are worked to complete the cable. Stitches held to the back of the work will create a cable that leans (crosses) to the right. Stitches held to the front of the work will result in a cable that leans (crosses) to the left.
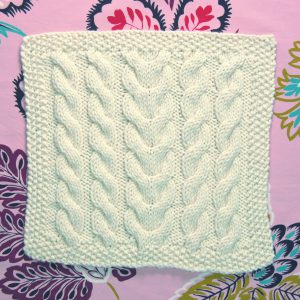
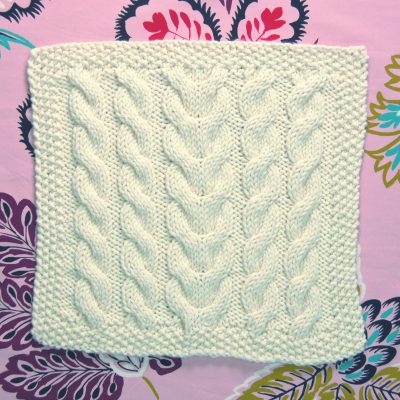
The photo above shows a square from my Building Blocks book that illustrates simple cables. The cables on the right hand side of the block lean right and the cable on the left hand side lean to the left. The center cable is known as a Staghorn Cable which is formed when a left and right leaning meet. In this example, the cables are formed from a column of stitches that are worked in all knit on the right side and all purl on the wrong side. My Cables video demonstrates how to execute a left and right leaning cable.
In Behind The Scenes, the design features cables that travel across the fabric. To achieve this bit of knitting magic, the cables are worked in both knit and purl on the right and wrong sides. The stitches in the front of the cable will remain in knit and the stitches behind them will be worked in purl.
In Part One, the traveling left leaning cable is worked by slipping two stitches to a cable needle and holding them in front. Next, purl two stitches from the left needle. Lastly, knit the two held stitches from the cable needle. I abbreviate this cable as FPK. This is my shorthand for hold stitches to the Front, Purl the next two stitches, Knit stitches off cable needle.
The traveling right leaning cable is worked by slipping two stitches to a cable needle and holding them in back. Next, knit two stitches from the left needle. Lastly, purl the two held stitches from the cable needle. I abbreviate this cable as BKP. This is my shorthand for hold stitches to the Back, Knit the next two stitches, Purl stitches off cable needle.
Both of the above cables are executed like a standard cable stitch except that one group of the stitches is worked in purl on the right side. This deviation will surely keep you on your toes!
I have provided both charted and written instructions for this pattern. The cables are color coded in the chart for easy reading.
Even if you do not work from the chart, I encourage you to use it to compare the design with the stitches on your needle. When working from the written instructions, consider color coding the cable abbreviations within the pertinent rows to match the charted instructions. (Highlighters work perfectly!) This makes it easier on the eyes and avoids executing the incorrect cable. If you find a mis-crossed cable several rows back, watch my Fixing a Mis-Crossed Cable video for a repair tutorial.
If you are an experienced cable knitter and are looking for a challenge. Try executing these cables without a cable needle. Since the needles and yarn are larger, it is a good project to give this technique a try. See Cables Without A Cable Needle video.
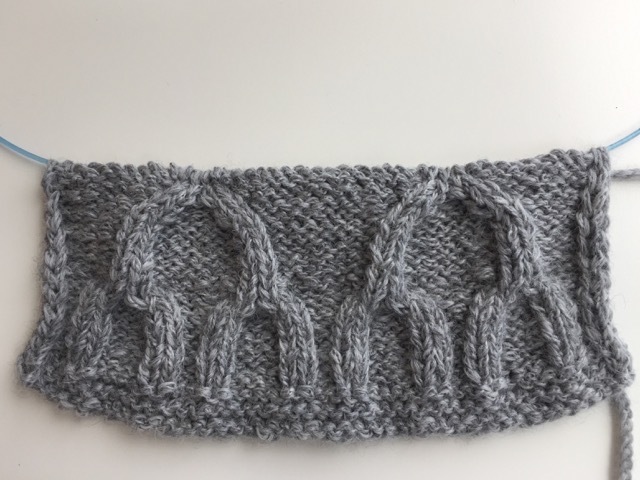
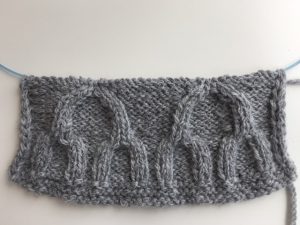
The photo below shows Part One completed. The piece has not been blocked so the button areas inside the four “horseshoes” are slightly small for my larger 1″ buttons. Blocking will widen this area and it will also correct the edges from drawing in.
Next week brings us more new cables to add to the mix!
Happy knitting,
Michelle

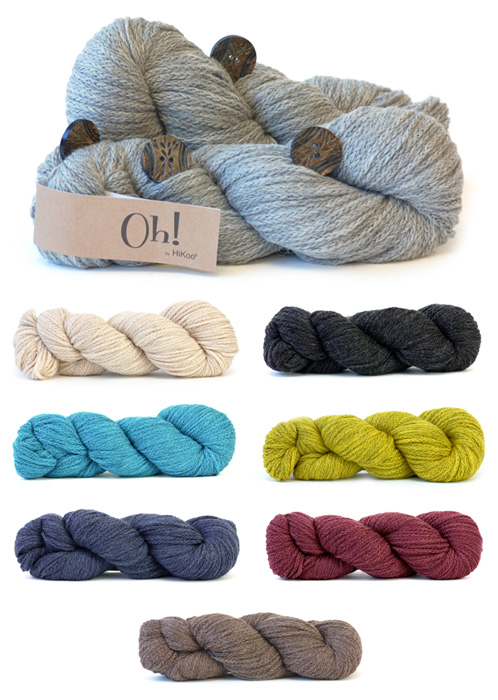
- OH! By HiKoo, 100% baby alpaca, 100g / 191 yds, 2 skeins
- US#10(6mm) needle, straight or 24” circular
- 4 round buttons, 5/8 – 1” in size
- Cable needle

18 stitches = 4” in stockinette, unblocked

Prior to blocking – 45”long, 7” wide. After blocking – 47”long, 8 ½” wide.

BKP (Back, Knit, Purl) – slip 2 stitches to cable needle and hold in back, knit 2 from left needle, purl 2 from cable needle.
cn – cable needle.
FPK (Front, Purl, Knit) – slip 2 stitches to cable needle and hold in front, purl 2 from left needle, knit 2 from cable needle.
sl – slip. See Slip Stitch Video
wyif – with yarn in front.