
Welcome to the Progressive Needles Knit Along sponsored by Skacel Collection. Match Play is a fun-to-knit and fun-to-wear poncho that is sure to become your favorite piece. Before we begin, here is an overview of the KAL:
- A portion of the 4-part mystery pattern is revealed here on the 1st, 2nd, 3rd and 4th Thursdays in October at 9am Eastern time. The weekly pattern, video resources and lots of helpful tips are included in each post. An abbreviated, pattern-only version is included to download.
- All techniques are supported with video instruction at knitpurlhunter.com
- All questions and comments are monitored daily both here and in the Knit Purl Hunter group on Ravelry. It’s like having your own private knitting tutor!
- Projects completed by November 30th are eligible for the monthly prize drawing – first prize is a set of addi Clicks! See skacelknitting.com for all the info.
- VERY IMPORTANT: Match Play is a FREE pattern through November 30th. After this date, it will only be available for purchase on Ravelry. Be sure to download each portion of the pattern prior to this date. Saving it to your Ravelry page will NOT save the pattern. The helpful tips and videos for each section will remain on my website indefinitely.
Match Play is worked in two pieces knit from the bottom up. Part One consists of one side of the poncho to the neck shaping. Let’s get started!
Lower Edge
We begin by casting on 208 stitches. When casting on a large number of stitches, I have two favorite methods that each eliminate the dreaded tail calculation. The Crochet Cast On requires no tail and leaves a clean, attractive edge. My video will guide you through the simple steps.
If you are not comfortable wielding a crochet hook, you can choose the Long Tail Cast On using two balls of yarn. This little trick saves yarn and gives you the perfect tail length every time. Watch my Long Tail Cast On (No Yarn Tail Estimate) video to add this to your knitting bag of tricks.
Once the stitches are cast on, the lower hem is worked in garter stitch. Row 1 is a Wrong Side row and worked in all knit stitches. After working the first row, turn your work and hang a marker on the Right Side of the fabric to avoid confusing the sides in this reversible fabric.
Starting with Row 2, every row will begin with a slipped stitch with working yarn held to the front. A slipped stitch edge should never begin on the first row because it pulls up a cast on stitch which will yield a distorted edge.
The photo below shows a garter stitch sample with the left edge worked in all knit and the right edge receiving the slipped stitch treatment. The slipped edge is smoother and tidier making it a great choice for exposed edges. You can see why I chose to use it in my Building With Lace book along the garter edged shawl.

My version of a slipped stitch edge is to slip the stitch as if to purl with the yarn in front. Once the stitch is on the right needle, return the working yarn between the needles to the back of the work and ready to work a knit stitch. This action slightly twists the stitch and makes an elegant edge. See Slipped Stitch Edge video. Continue working through Row 18, slipping the first stitch of every row. Note that Row 18 is a Right Side row.
With Wrong Side facing, begin the three Set Up rows. Row 1 places the markers in the correct positions to separate the different stitch patterns. In Row 2, with Right Side facing, the stage is set for the upcoming designs. Note that the stitch after the 2nd marker and before the 3rd marker are slipped as if to purl with yarn in back adhering to the customary slipped stitch rule. Row 3 is a Wrong Side row maintaining the established garter edges and purling across the body designs. From this point forward, all markers are slipped while working across the row and will not be mentioned again.
Body
The carefully placed markers will guide you in working the different stitch patterns used on this side of the poncho. The first five stitches (before the 1st marker) and the last five stitches (after the 4th marker) will remain in the established garter stitch edge. Continue to work them as in the Lower Edge. These garter edge stitches are NOT included in the written instructions or in the charts. I am trusting that the markers will serve as a reminder to maintain the edge.

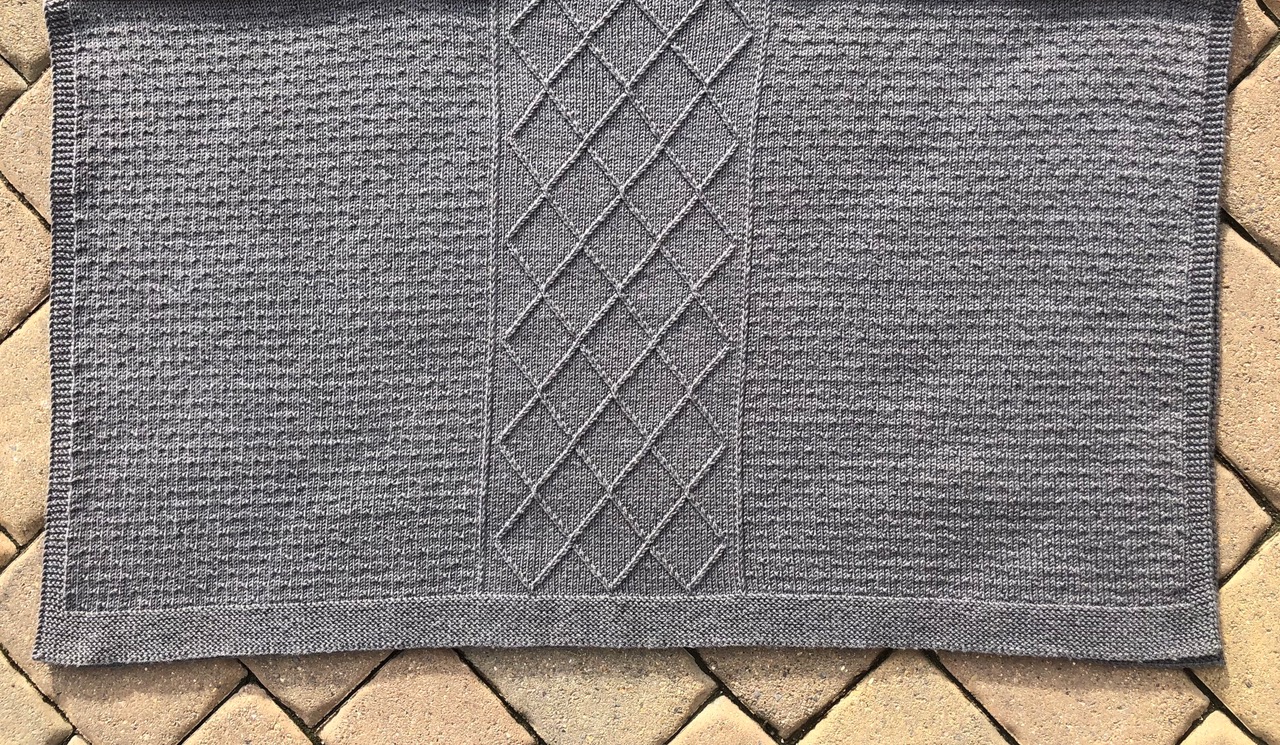
The center motif, worked over the 48 stitches between the 2nd and 3rd markers, is the lovely Diamond Pattern featuring left and right twists. I have always been disappointed with my left twists in these types of patterns where left and right twists are side by side. The right twist was always smooth (see Right Twist video), but the left twist looked a little wobbly. I have tried several variations but couldn’t find a mirror image to the right twist – until now! For a beautifully smooth left twist, slip each stitch one at a time as if to knit onto the right needle. (Same as if working an ssk.) Return these stitches to the left needle. Next, knit the second stitch through the back loop and then knit both stitches together through the back loop. Taking the time to work these extra steps yields superior results. Watch my Left Twist (Mirror to Right Twist) video and see if you agree!
The Diamond Pattern has both written and charted instructions. The chart is color coded to easily identify the appropriate twist required when moving across a row. Work the 28 rows of the Diamond pattern six times to complete the motif.
Flanking both sides of the Diamond Pattern is the textured Dot Pattern. This simple knit and purl design transforms stockinette into a interestingly nubby fabric. The Dot Pattern is worked over the 75 stitches directly before and after the center motif while simultaneously working the Diamond Pattern. Both written and charted instructions are provided for the Dot Pattern. The 8 rows of the Dot Pattern are worked 21 times.
The Dot Pattern has a repeat of 8 rows while the Diamond Pattern has a repeat of 28 rows. To keep track of the multiple patterns, I find it essential to use two counters – one for the Diamond and one for the Dot. Because I want to spoil you, I have created a chart that does the work of the two counters for you. (Applause, please!) The left hand column indicates the Right Side row number of the Diamond Pattern. The following columns indicate the corresponding Dot Row number for each of the six repeats. All Wrong Side rows are purled so they are not included in the chart. You can download the chart here.
At the conclusion of Part One, the piece measures approximately 22″. I joined my 4th skein on Row 24 of the 6th repeat of the Diamond Pattern. There is a generous amount of yarn for the pattern so everyone should be well within the yardage range.
Alterations
Match Play is designed to be a one size fits most garment. Women ranging from size 0 to 2X tried on the poncho and were thrilled with the fit. If you would like to make the poncho shorter or longer, work the Diamond Pattern fewer or more rows to the desired length ending after ANY Wrong Side row. (It is not necessary to complete a diamond.) Be sure to note the last row number worked for future reference.
If you would like to change the width of the poncho, increase or decrease the number of Dot Pattern stitches by 4 stitches on BOTH sides of the center motif. I have not worked any variation of the given size so I am unable to comment on the yardage needed to alter the width.
Part Two
Next week’s clue is very short which essentially gives you two weeks to complete this side. I hope you have fun with both the yarn and the stitches!
Happy knitting,
Michelle

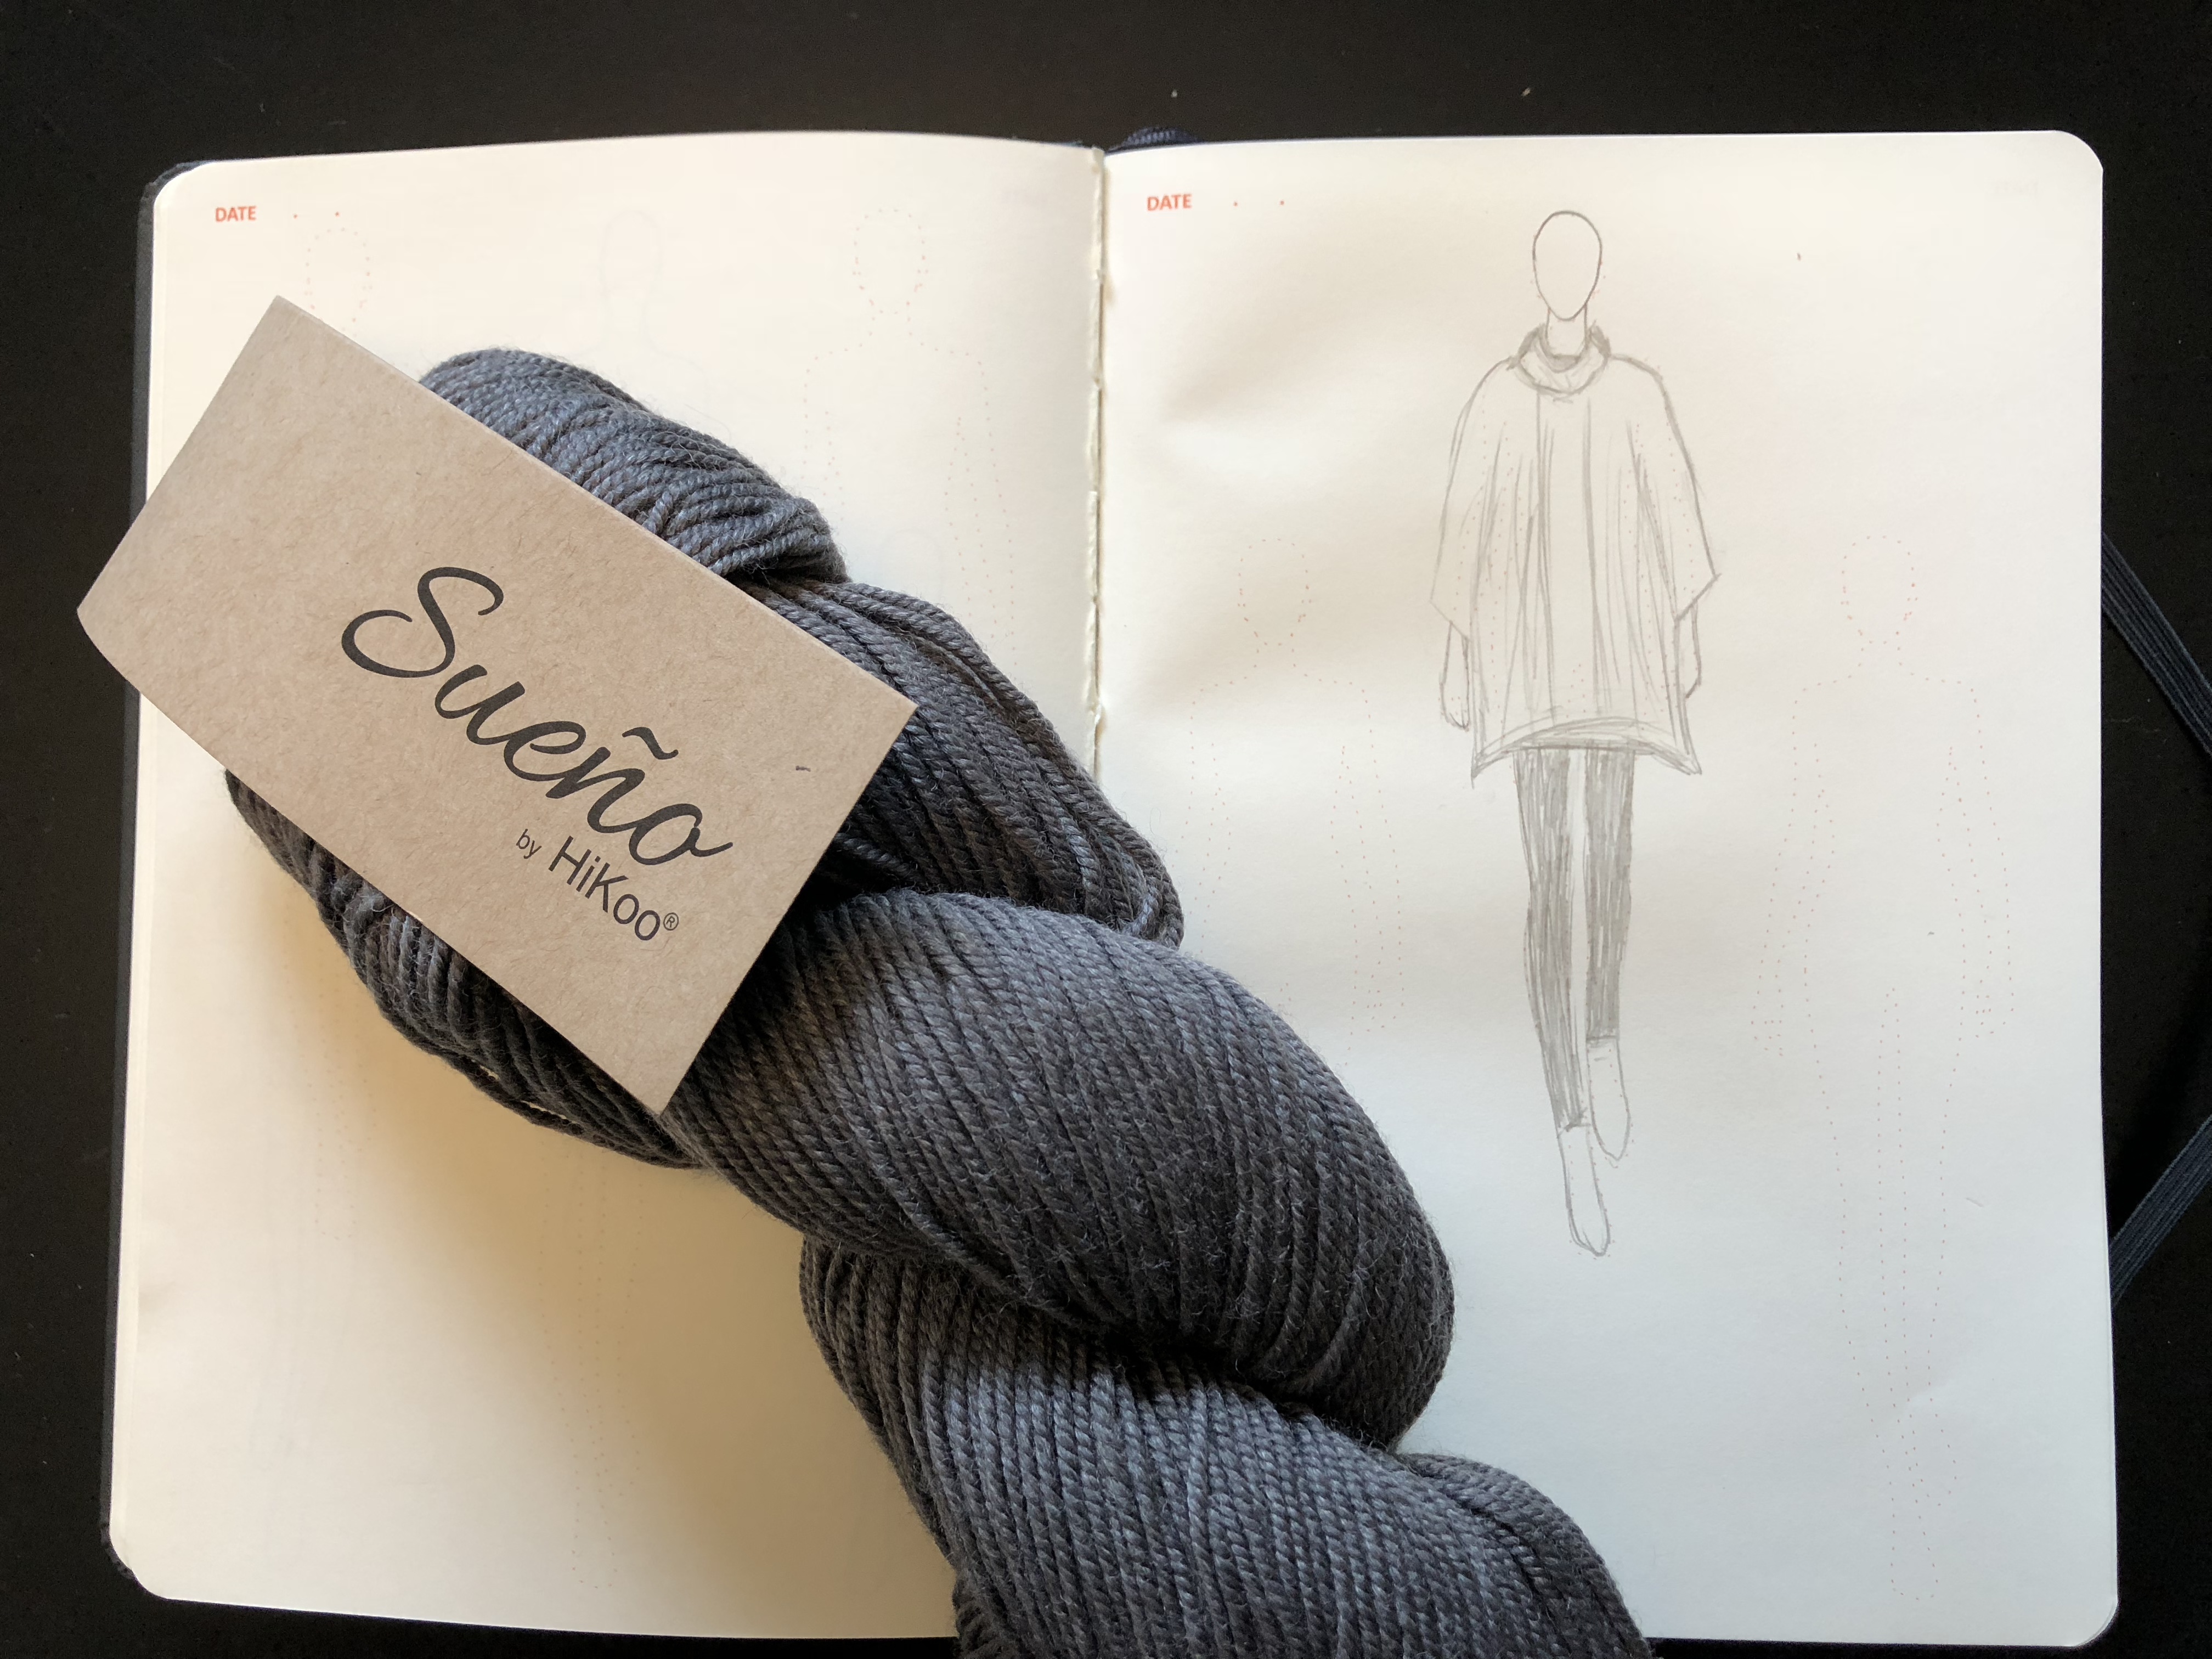
- Sueno by HiKoo, 80% merino superwash, 20% viscose from bamboo, 100 g/ 255 yards each, 8 skeins
- US #6 (4mm) 32” circular needle
- US #6 (4mm) 16” circular needle
- US #7 (4.5mm) 16” circular needle
- Markers, counters (2 separate are helpful), stitch holders (waste yarn works well)
- Optional: Size F crochet hook for cast on

Approximately 23 stitches and 33 rows = 4” in stockinette, knit flat on smaller needle

One size
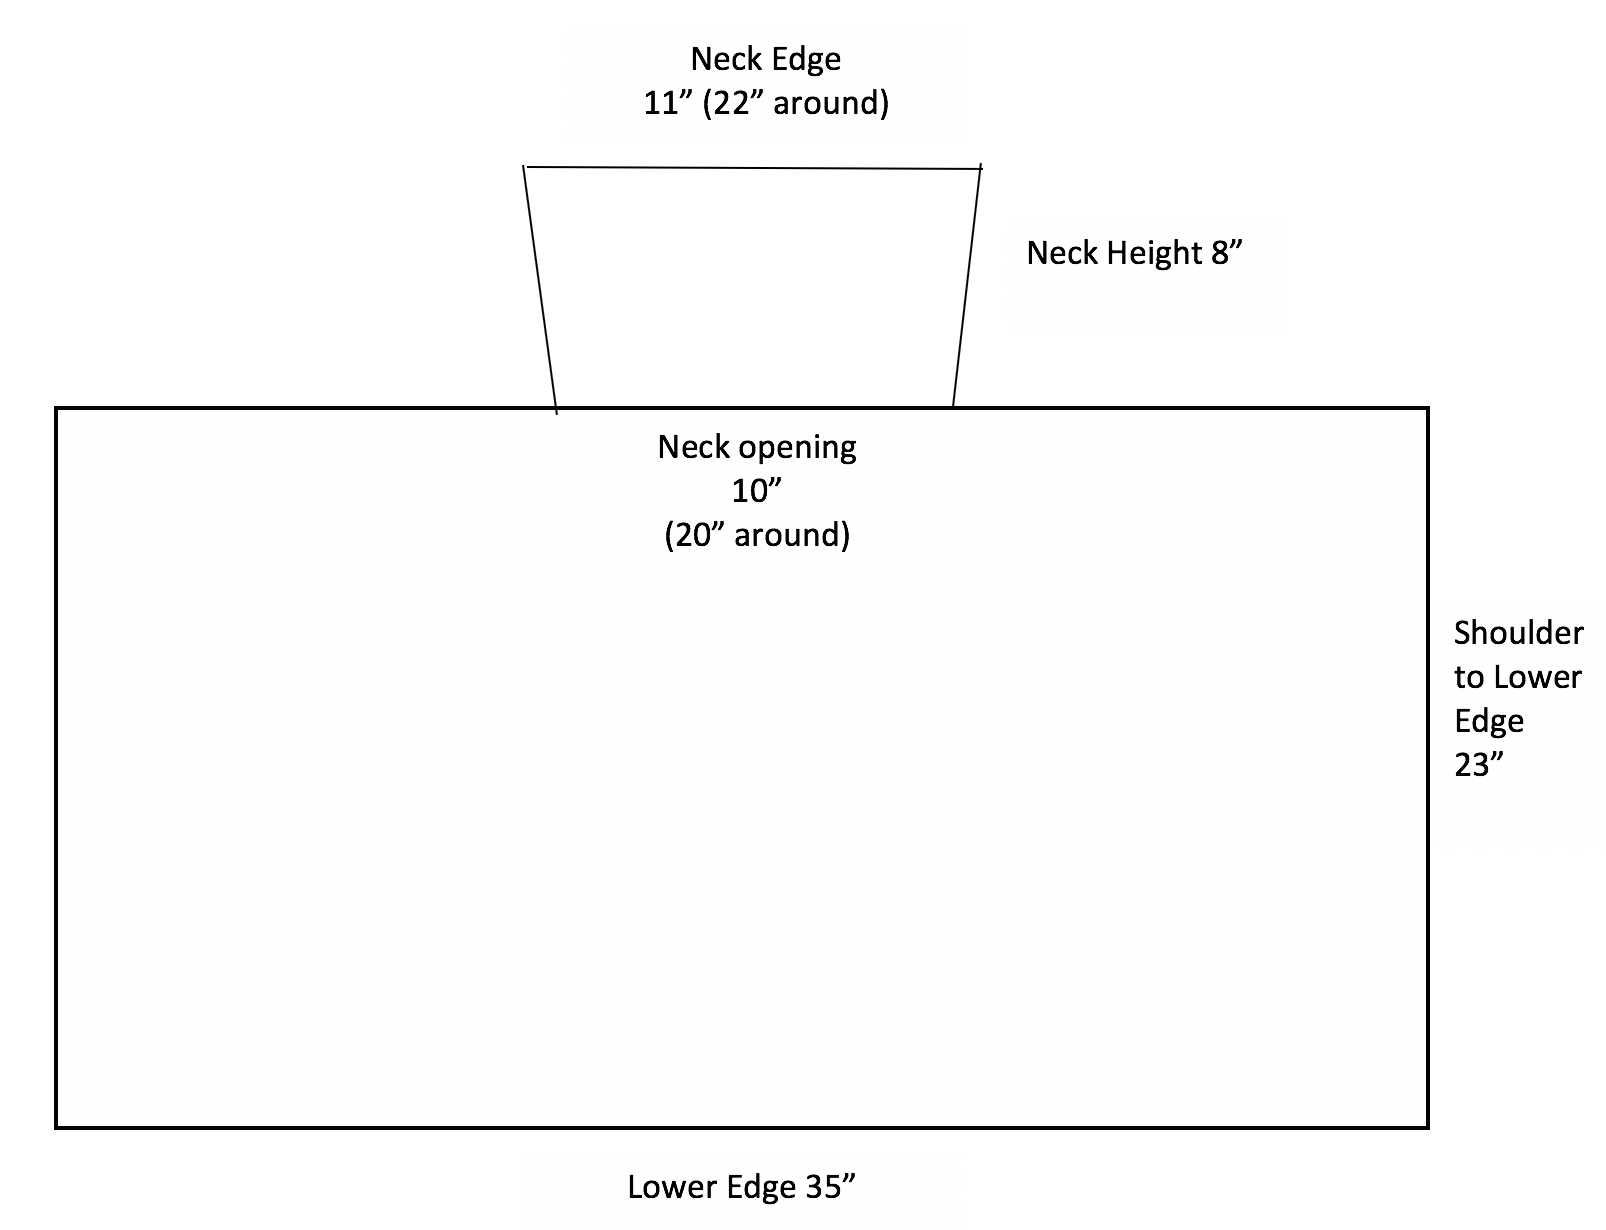
35” wide across front (70” circumference), 23” long from shoulder to hem.
![]()
LT (Left Twist) – slip as if to knit, slip as if to knit, return both slipped stitches to left needle. Knit second stitch through the back loop, then knit both stitches together through the back loop. See Left Twist (Mirror to Right Twist) Video
PM – place marker
RS – right side
RT (Right twist) – knit two stitches together and without taking stitches off left hand needle, reknit the first stitch and remove both stitches from left hand needle. See Right Twist Video
sl – slip. See Slip Stitch Video
SM – slip marker
st(s) – stitch(es)
WS – wrong side
wyib – with yarn in back
wyif – with yarn in front
Pattern Notes
- Poncho is knit from the bottom up in two pieces
- Every row begins with a slipped stitch with yarn held to the front. See Slipped Stitch Edge Video