
Welcome to the Progressive Needles Knit Along sponsored by Skacel Collection. I can’t thank the folks at Skacel enough for their dedication to knitting education that makes this series possible!
Cable Channel is a textured pillow that will add a pop of color and charm to any decor. Before we begin, here is an overview of the KAL:
- A portion of the 4-part mystery pattern is revealed here on the 1st, 2nd, 3rd and 4th Thursdays in April at 9am Eastern time. The weekly pattern, video resources and lots of helpful tips are included in each post. An abbreviated, pattern-only version is included to download.
- All techniques are supported with video instruction at knitpurlhunter.com
- All questions and comments are monitored daily both here and in the Knit Purl Hunter group on Ravelry. It’s like having your own private knitting tutor!
- Projects completed by May 31st are eligible for the monthly prize drawing – first prize is a set of addi Clicks! See skacelknitting.com for all the info.
- VERY IMPORTANT: Cable Channel is a FREE pattern through May 31st. After this date, it will only be available for purchase on Ravelry. Be sure to download each portion of the pattern prior to this date. Saving it to your Ravelry page will NOT save the pattern. The helpful tips and videos for each section will remain on my website indefinitely.
Pillow Talk
I will admit to being a bit of a pillow fanatic. My philosophy is that a sofa is just a vessel to hold pillows! I regularly rotate pillows on beds and sofas to keep the decor fresh and interesting. I decided it was high time that I brought you on board with this delightful obsession.
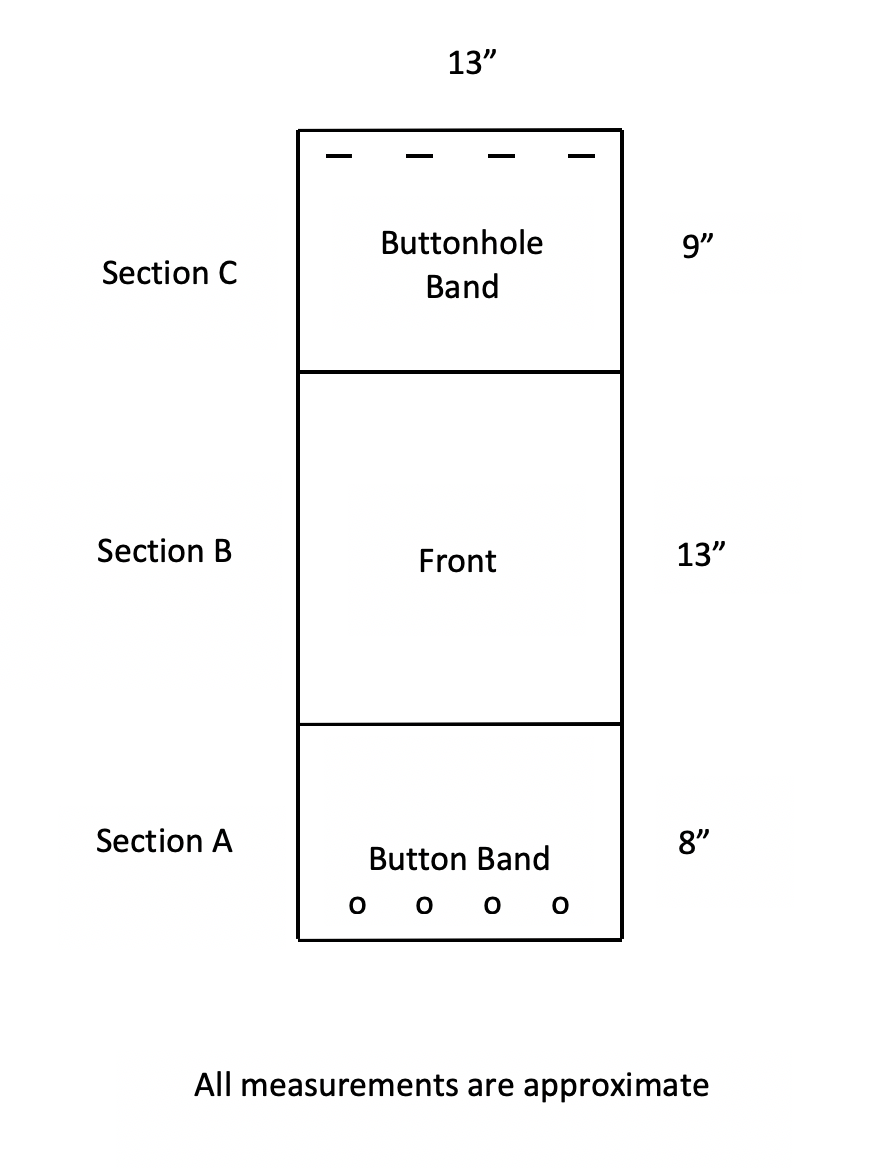
Cable Channel is designed for easy seaming. It is knit in one long piece that is folded and overlapped to be buttoned on the back. The schematic below shows the approximate measurements of the pillow top after blocking and the order of the knitting. Today’s clue begins with Section A where the buttons will be added later in the finishing process.
Button Band
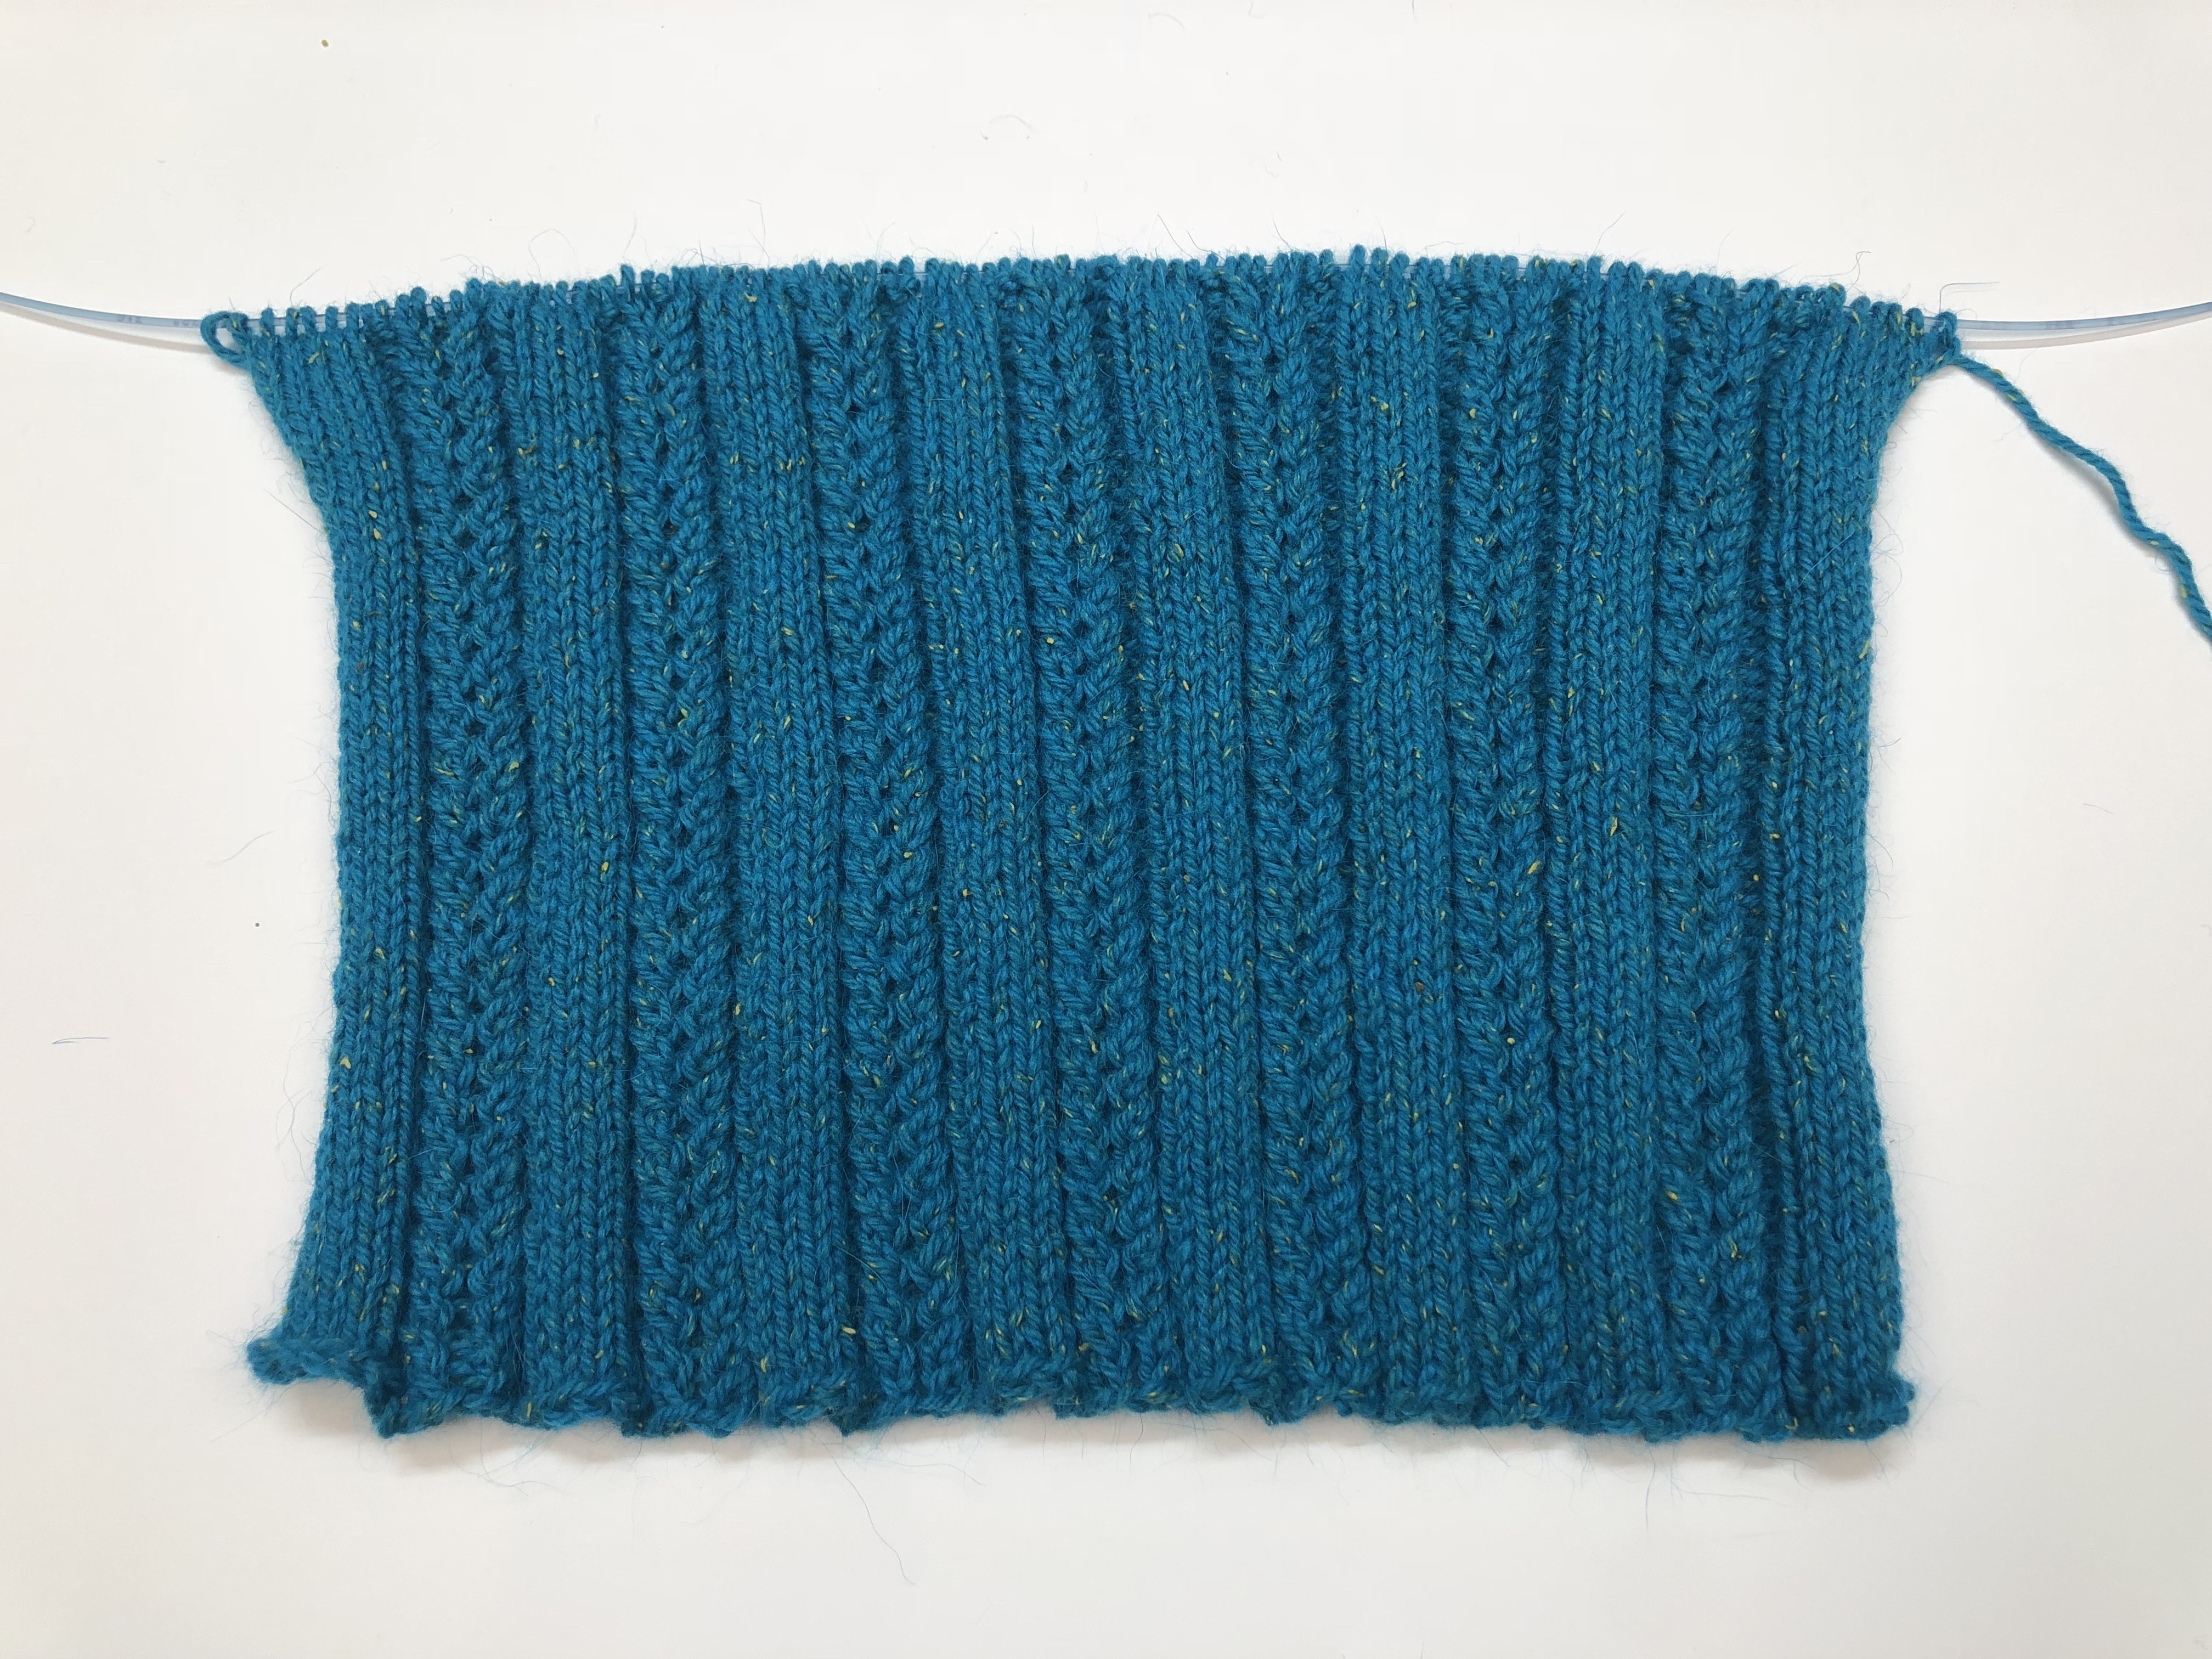
Section A is comprised of a lovely twisted rib design. Not only is this pattern good looking, the ribs will hug the pillow form for a snug fit.
I chose to cast on with the Crochet Cast On method because it leaves a nice clean edge and no long tail calculation is required. Any cast on technique will work, but I recommend giving it a try. It’s my go-to cast on for large numbers of stitches where a firm cast on is not needed. Watch my Crochet Cast On video for a quick tutorial.
The instructions are given in both written and charted formats to suit your preference. Note that the chart is color coded for easy reading. If you are unable to print in color, use highlighters or colored pencils to aid you. The pattern’s 13-stitch repeat is found between the bold lines in the chart. No matter how you choose to read the instructions, I’m betting that the design will be easily memorized and be a quick knit.
The Twisted Rib uses both left and right twists to achieve its braided appearance. I have once again chosen to use the Left Twist- Mirror Image since it most closely mimics the Right Twist. Check out the linked videos to refresh you on these cable-like cousins.
The Twisted Rib is worked until the piece measures 8″ from cast on edge. At first the fabric will seem way too wide, but it will pull in nicely after a few inches when the rib starts to pull in horizontally. Do not bind off as the pillow will continue over these same 101 stitches.
I recommend laying the width of the piece over your pillow form to evaluate the fit. Pillows vary in level of filling so it is best to check your knitting with your exact form. The rib stretches and pulls so it is very forgiving to fit but a little awkward to measure. My button band measured approximately 11 1/2″ wide unstretched prior to blocking, but anything close to that will work.
At the completion of this section, be sure to place a lifeline through your stitches. This lifeline will be used in the finishing process and will safeguard your hard work.
A Little Secret
I have listed my yarn usage as a reference for your knitting. At the completion of the pillow, I had 25g (half of a skein) remaining. However, following today’s big trend, I chose to add tassels to the corners of the pillow and I adore the look! The tassels used 5 grams each. I let you in on this little secret in case you want to keep a close eye on your yardage. I will reveal all of the tassel details in Part 4.
Until Next Week
Please join my Ravelry group where you can find lots of support from me and the thousands of other members. I answer questions daily and many of the members also offer helpful tips and encouragement. It’s a fun and vibrant community of knitters.
Enjoy the pattern and see you next week!
Happy knitting,
Michelle
Part One
Click here to download printable version

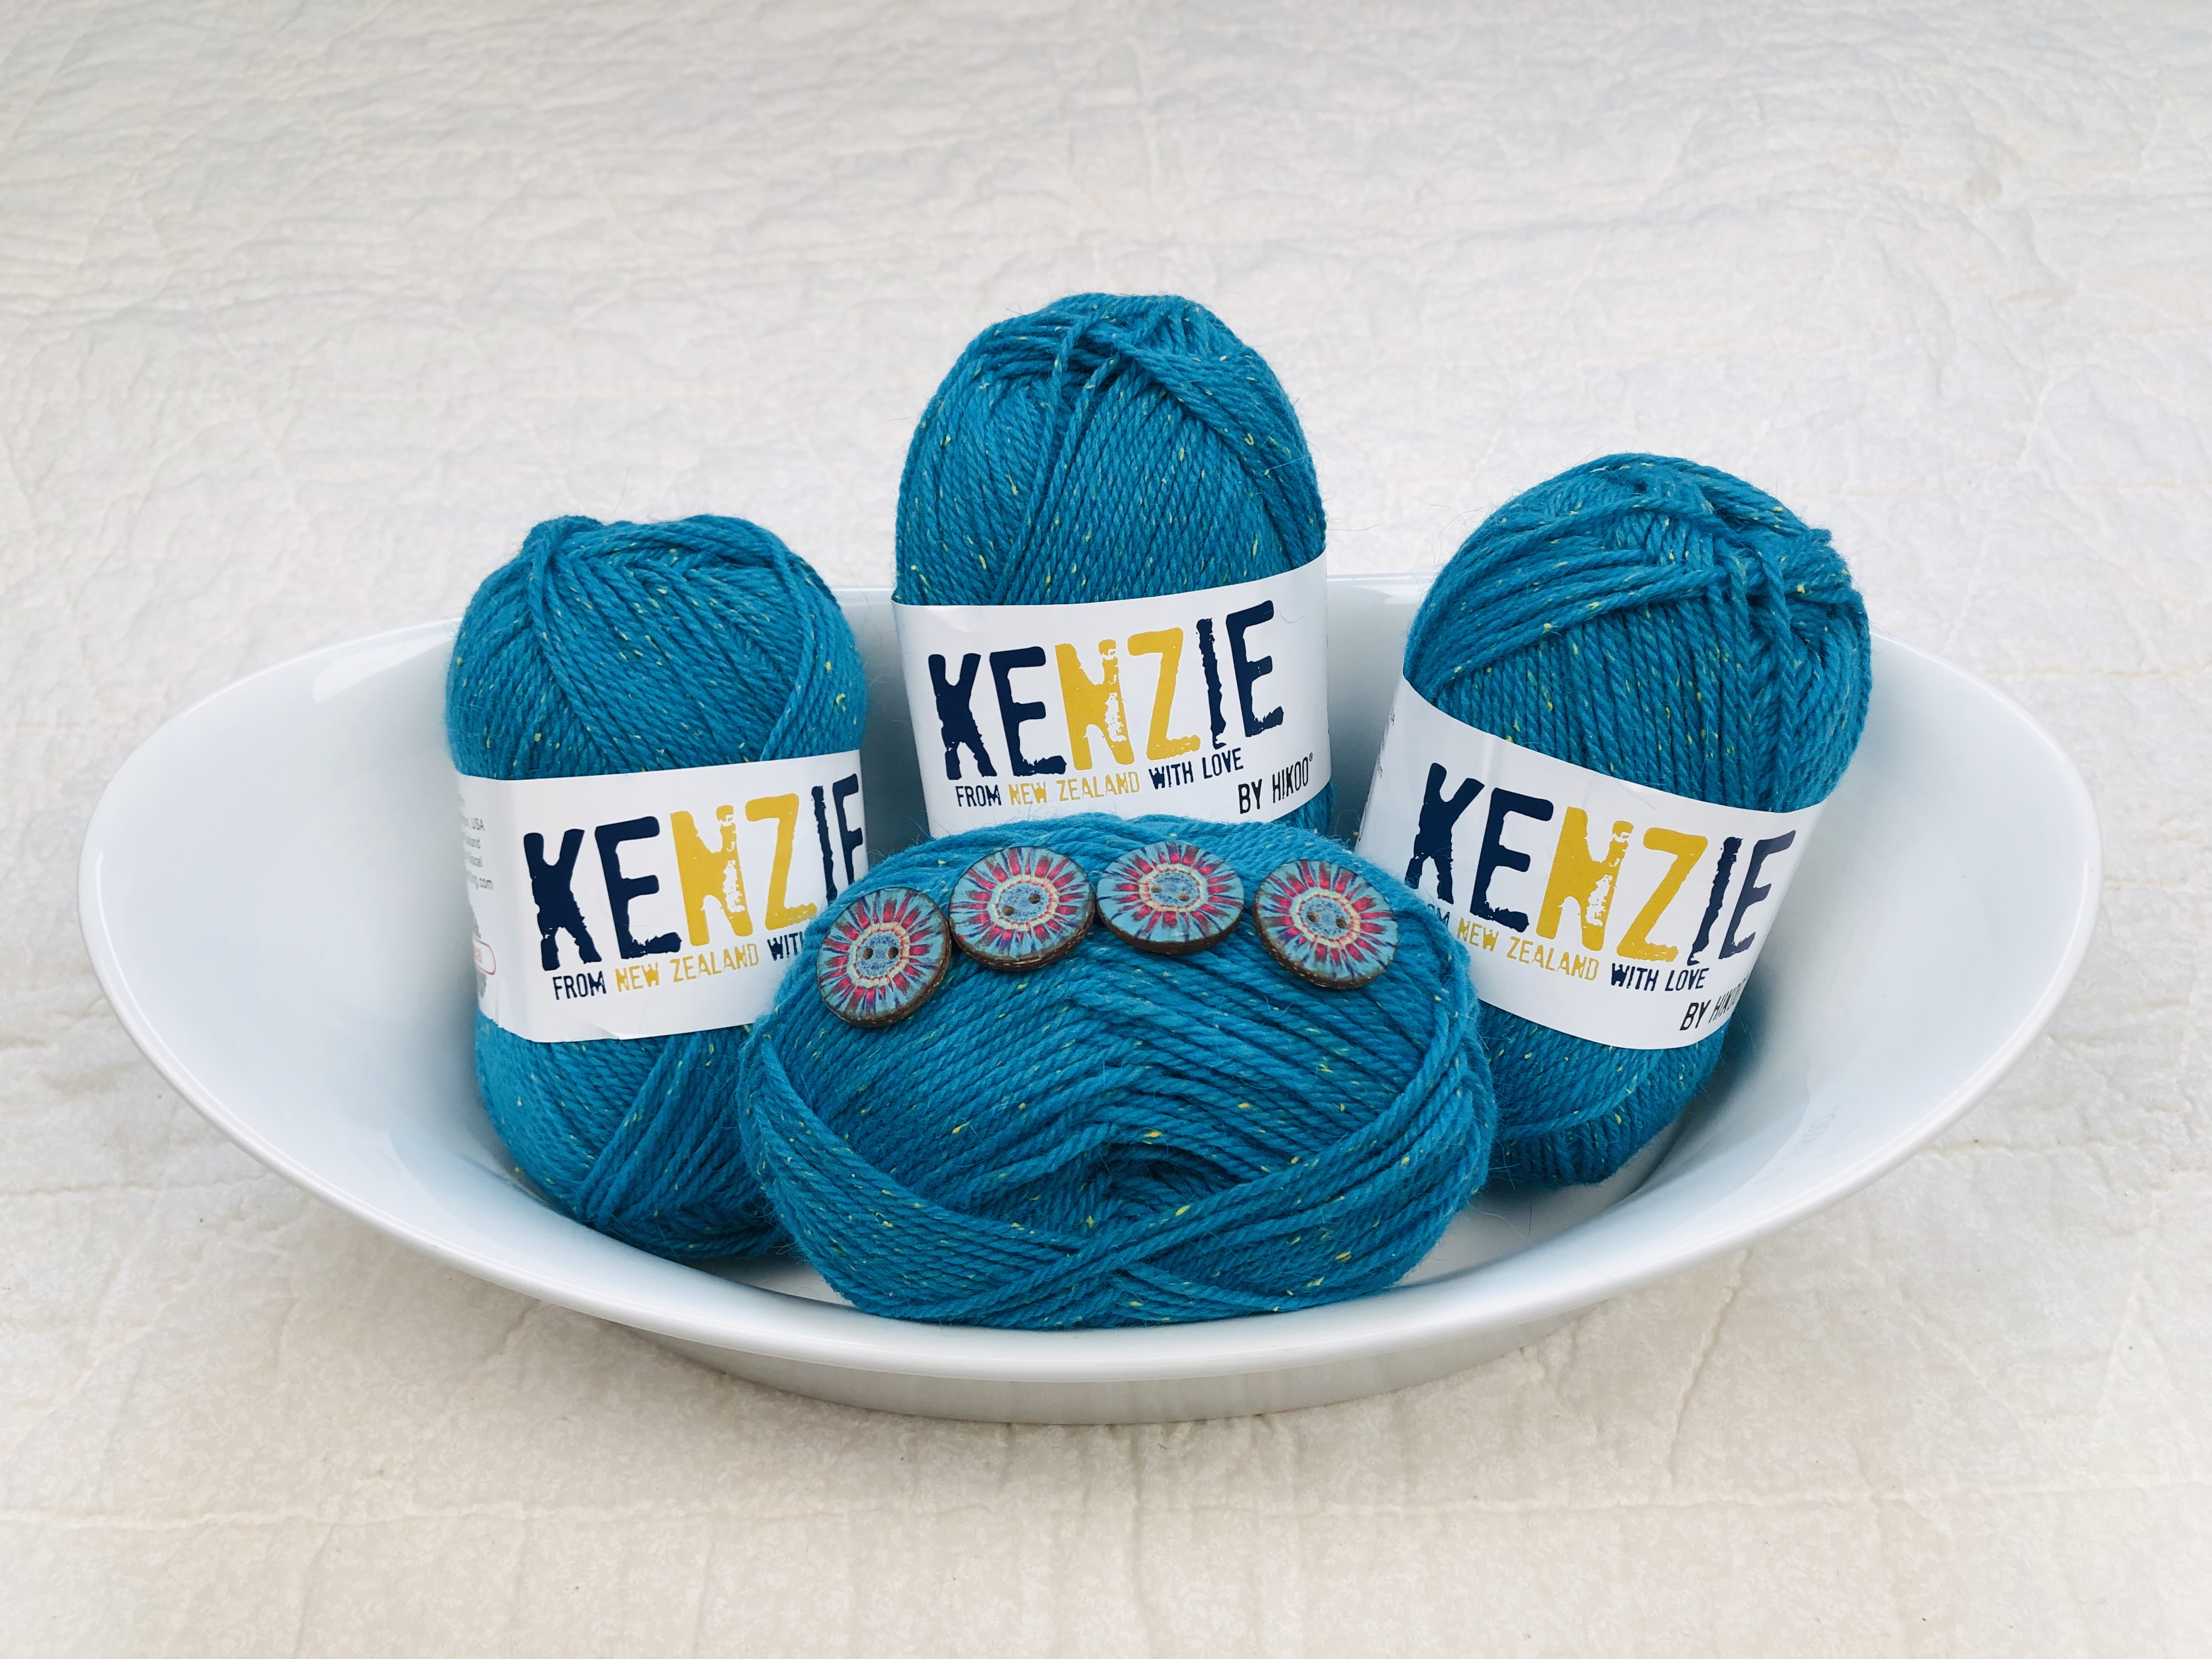
- Kenzie by HiKoo, 50% New Zealand merino, 25% nylon, 10% angora, 10% alpaca, 5% silk noils, 50g/160 yards each, 4 skeins
- Waste yarn – contrasting color in a similar weight to Kenzie, 2 yards
- US #6 (4mm) 24” circular needles or size needed to obtain gauge
- Optional – crochet hook Size F or G for cast on
- 14” pillow form
- 7/8” (22mm) buttons, 4
- Cable needle
- Tapestry needle

14″ square

23 sts and 30 rows = 4” in stockinette
![]()
LT (Left Twist) – slip as if to knit, slip as if to knit, return both slipped stitches to left needle. Knit second stitch through the back loop, then knit both stitches together through the back loop. See Left Twist – Mirror Image Video
RT (Right twist) – knit two stitches together and without taking stitches off left hand needle, reknit the first stitch and remove both stitches from left hand needle. See Right Twist Video

Section A – Button Band
Cast on 101 sts. (I used Crochet Cast On, but any method is acceptable.) .
See Crochet Cast On Video
Twisted Rib – mult. of 13 + 10, 2 rows (See Chart A below)
Row 1. (RS) K7, *p2, RT, p1, LT, p2, k4; repeat from * to last 3 sts, k3.
Row 2. (WS) P3, *p4, k2, p2, k1, p2, k2; repeat from * to last 7 sts, p7.
Repeat the above two rows until piece measures 8” ending after Row 2. Place lifeline through last row to aid in later finishing. (My 1st skein weighed 6g at this point)
Chart A
Twisted Rib – mult. of 13 + 10
